Order your 25 day kit HERE!
These are the instructions for the 2025 Crisp Cringle 25 Day kit!
This kit is intended to start December 1st and end Christmas Day, although we did include a few extras! The order of the days are a suggestion and meant to help keep the kit organized, but feel free to switch them around as you please!
We hope you will follow along as we “elf” together on Instagram @crispcollectiveig HERE. We will set each day up via video in stories! I look forward to doing this tradition together all year! Thank you for letting us help create a bit of Christmas magic for your family! If you have any questions or issues, don’t hesitate to reach out via Etsy or email info@crispcollective.org.
Day 1: Arrival Day!
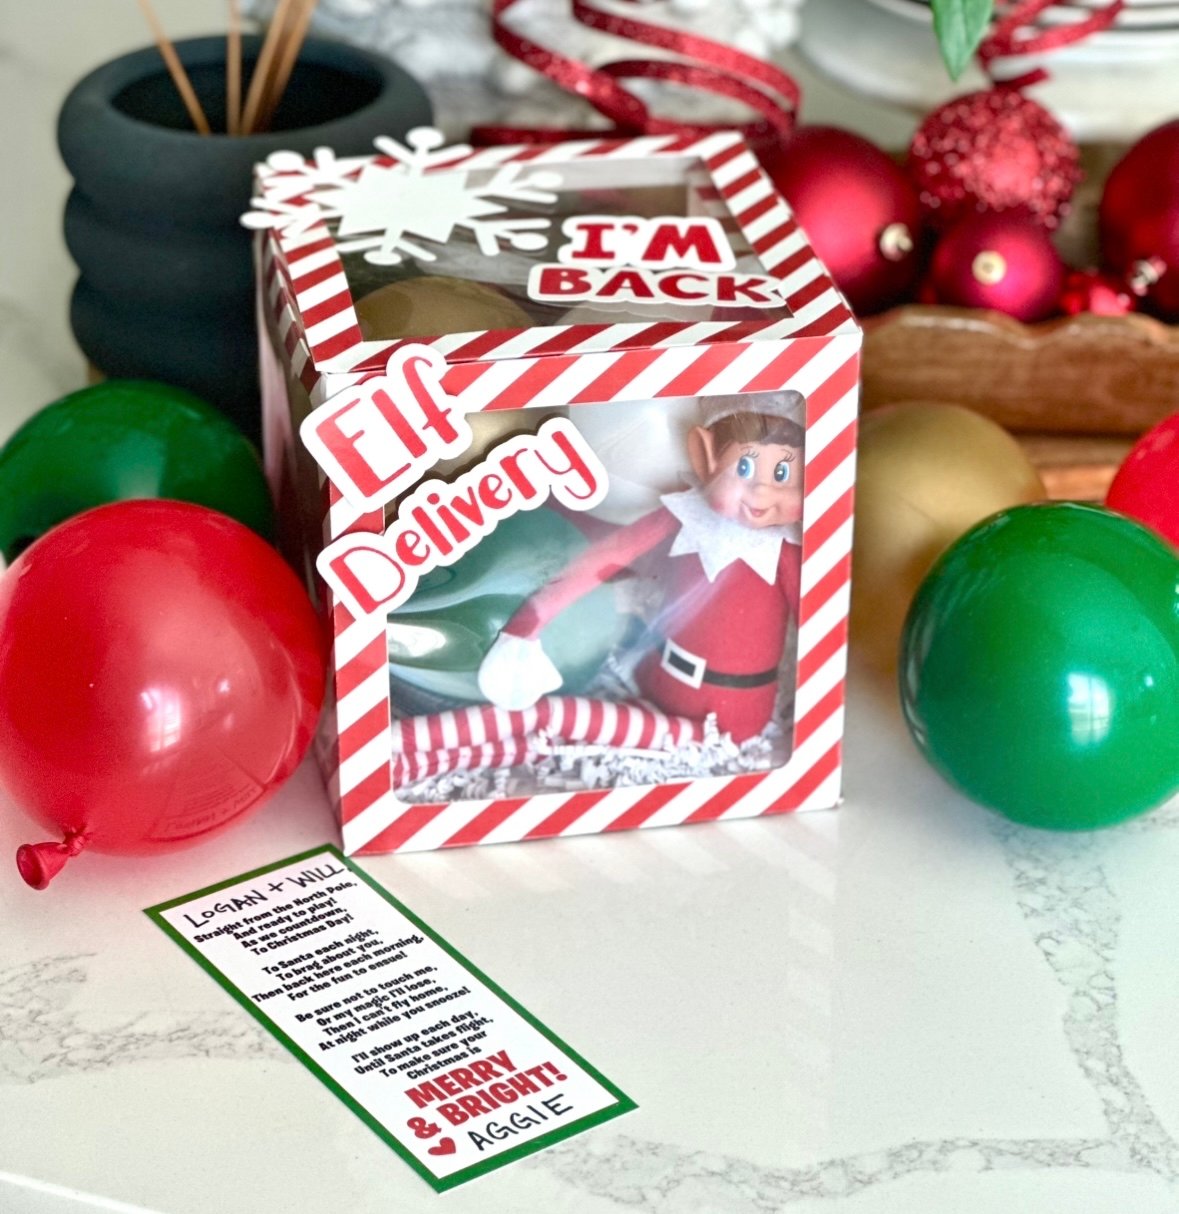
Supplies: Red and white striped box, balloons, stick on signs-these are all packaged together when you first open your kit! Merry and Bright card- in the bag labeled “Days 1-7”, crinkle (optional)
Instructions: Fold your box. Place white crinkle paper at the bottom. Blow up the balloons- these blow up easier if you stretch them out a little first! Place the balloons inside and around your box. Place your elf/elves in the delivery box. Add the signs to the outside! If this is your first time with an elf, save the “I’m Back” for next year! Write your child/children’s name(s) at the top of the Merry and Bright card. Sign your elf/elves names at the bottom!
Let the fun begin!!!
Day 2: All Aboard!
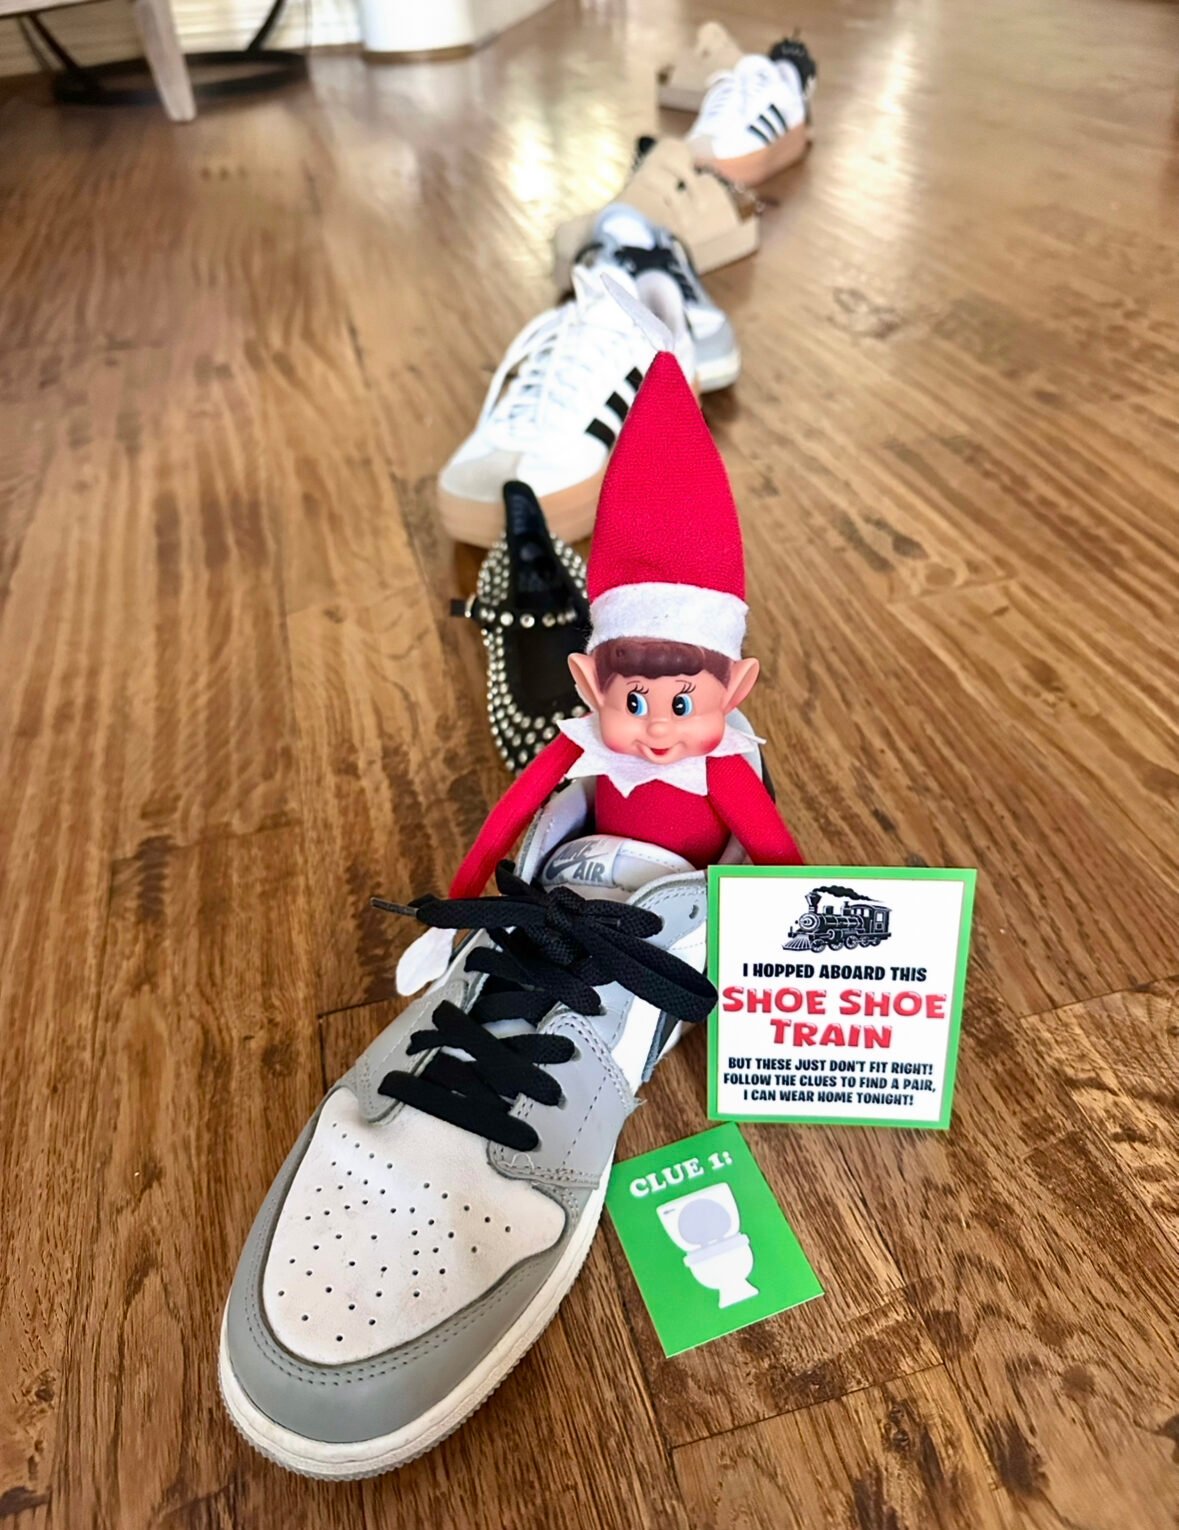
Supplies: Shoe, shoe train card, Clue 1,2, and 3 cards, checkered shoes
Instructions: All aboard!!! Put shoes in a line to form a “train”. Place elf in the front shoe and place the card and clue 1 nearby. You can also set the card on the wooden easel if you prefer.
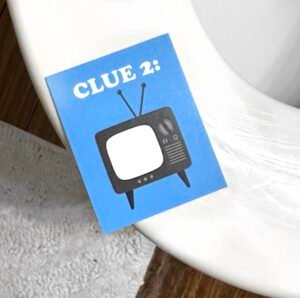
Place clue 2 on or near a toilet.
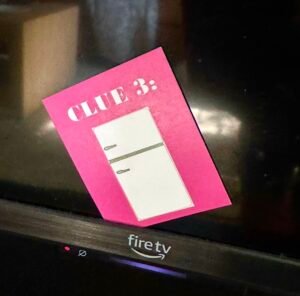
Place clue 3 on or near a TV.
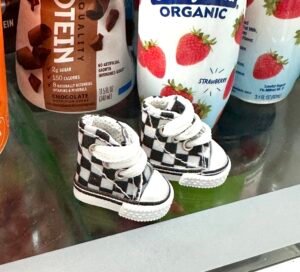
Place the checkered shoes in the fridge!
Place the shoes near your elf for him to wear home. He can arrive wearing them on day 3. To put the shoes on, loosen the laces a bit and slide your elf’s foot/leg inside!
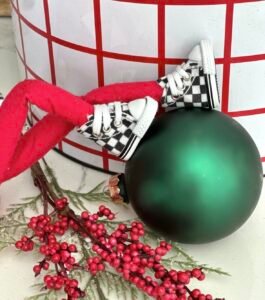
Day 3: Ornament
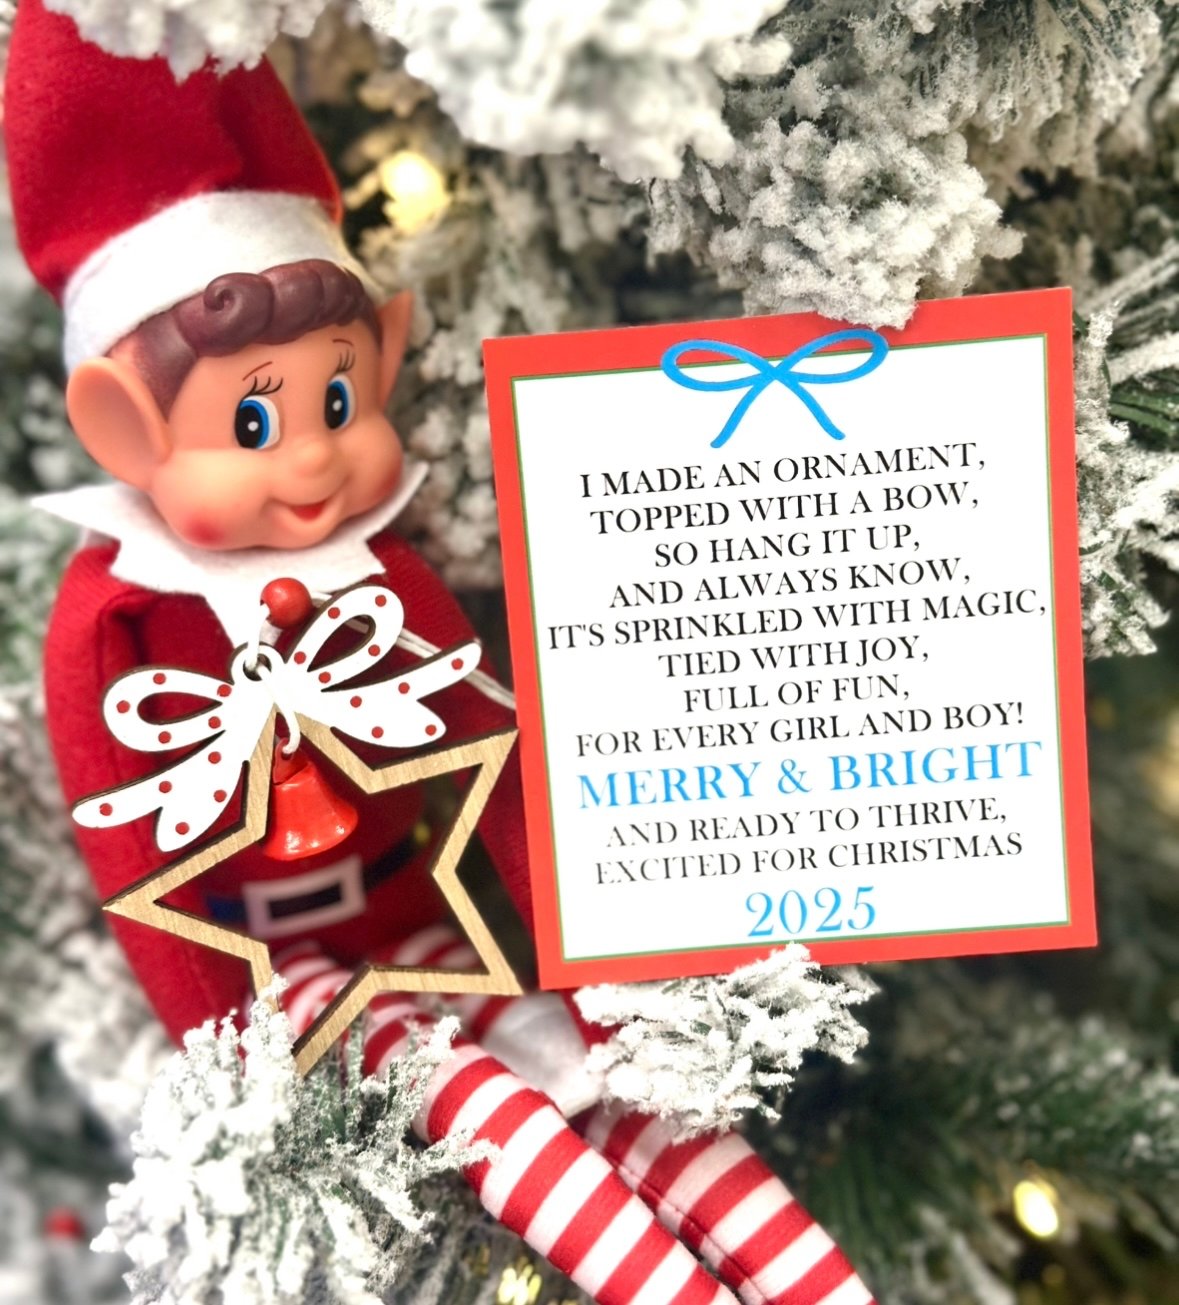
Supplies: Ornament (shape may vary-tree, star or heart), card
Instructions: Place your elf, card and ornament on your Christmas tree! A fun keepsake to remember this fun time with your elf, year after year!
Day 4: Elf Portrait/Letters to Santa
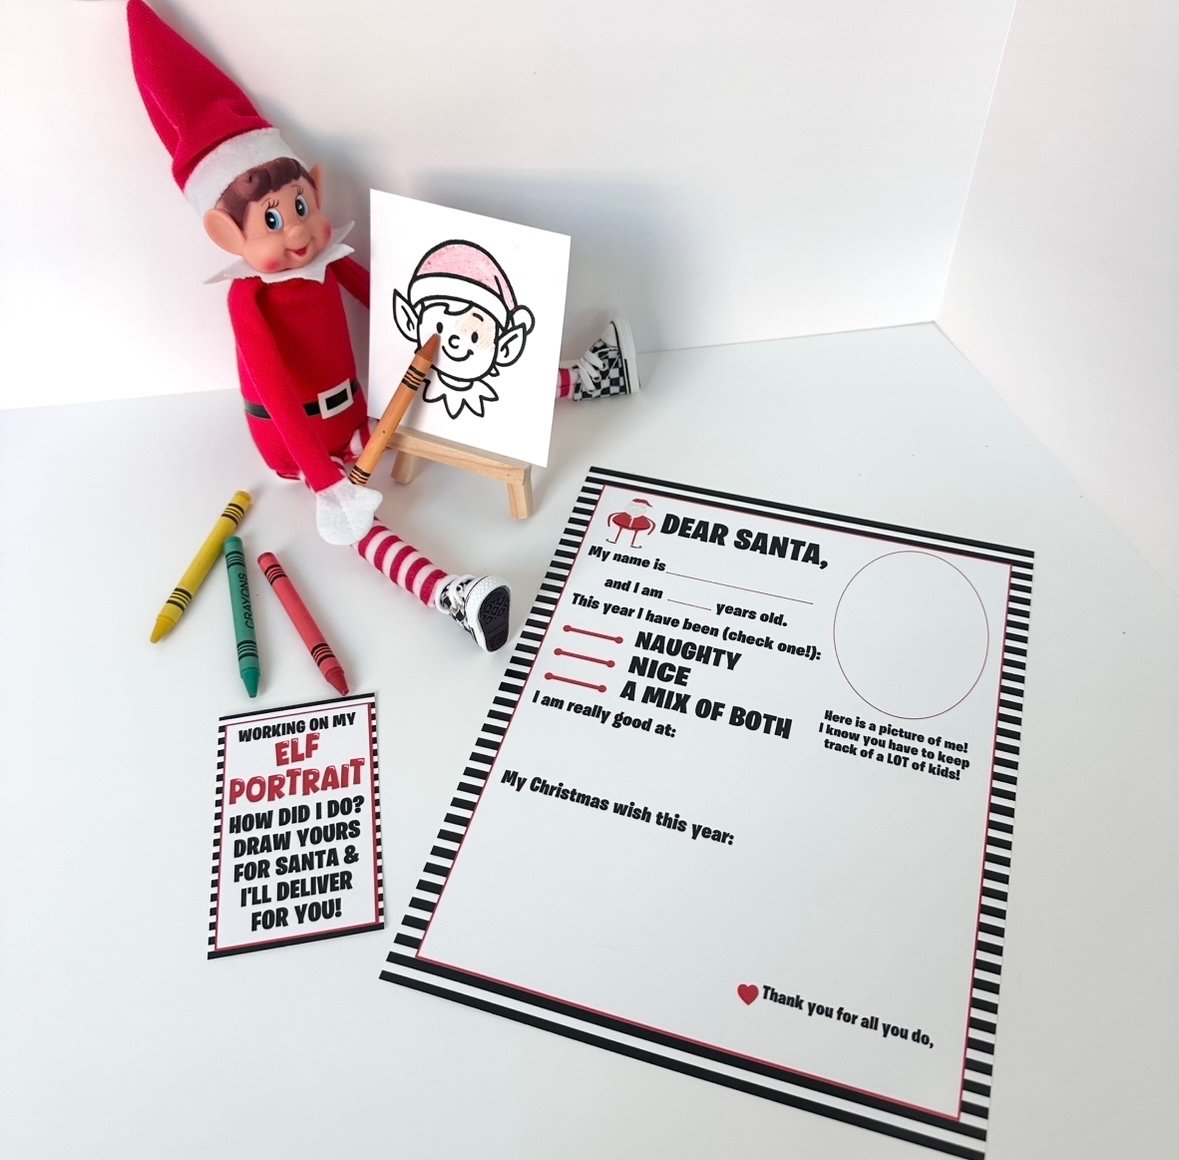
Supplies: Wooden easel, elf face card, elf portrait card, crayons (in box), letter to Santa-1 per child. These are located at the bottom of your kit.
Instructions: Place the elf face card on the easel. Take the crayons out of the box and set them in your elf’s hand/around your elf to give the illusion he is coloring his portrait. Set the letters to Santa our for your kids to complete. We print these on heavy cardstock so they can be a keepsake for you to cherish!
Day 5: Let’s Make Magic!

Supplies: Wooden easel, color card, trick card, 2 bags of skittles, crayons, mini grater, apron, chef’s hat
Instructions: Place the color card on the easel. Tie the apron onto your elf and place the chef’s hat on his head. Place the crayons on the top of the graters and place it next to your elf. Place some skittles at the bottom of the grater so it appears the crayons are being grated to become skittles. Grab a small plate or saucer. Place the remaining skittles in a circle on the plate and place the trick card nearby.
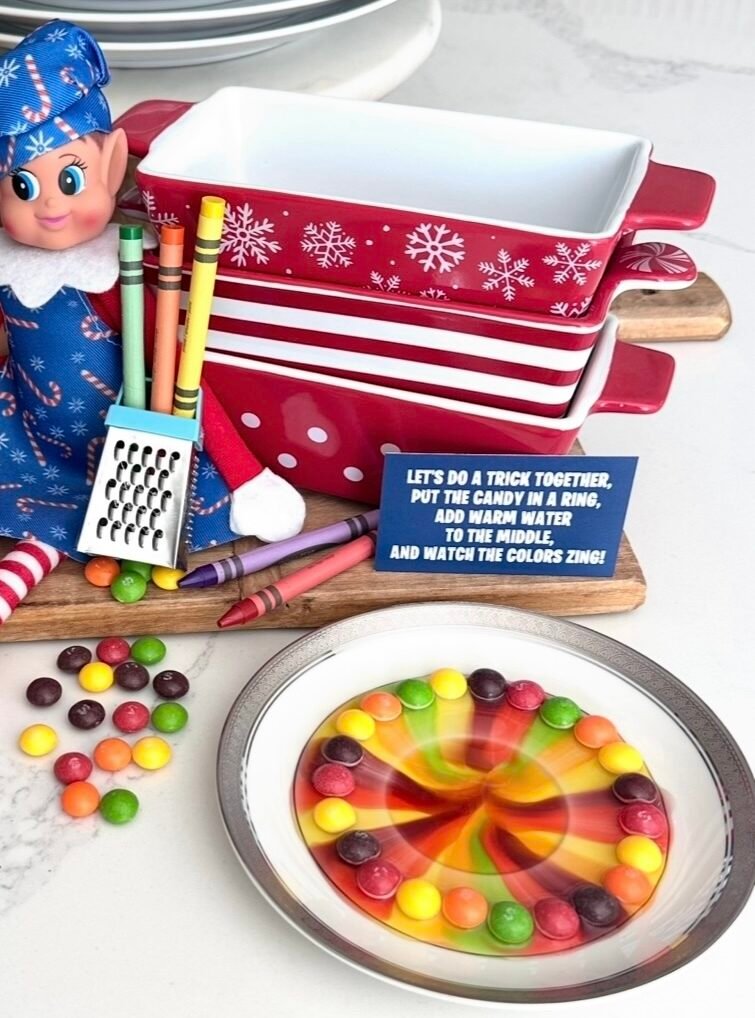
Once your child has found the elf, try the “magic” trick together. Pour warm water into the middle of the skittle circle and watch the colors appear!
Day 6: Blown Away
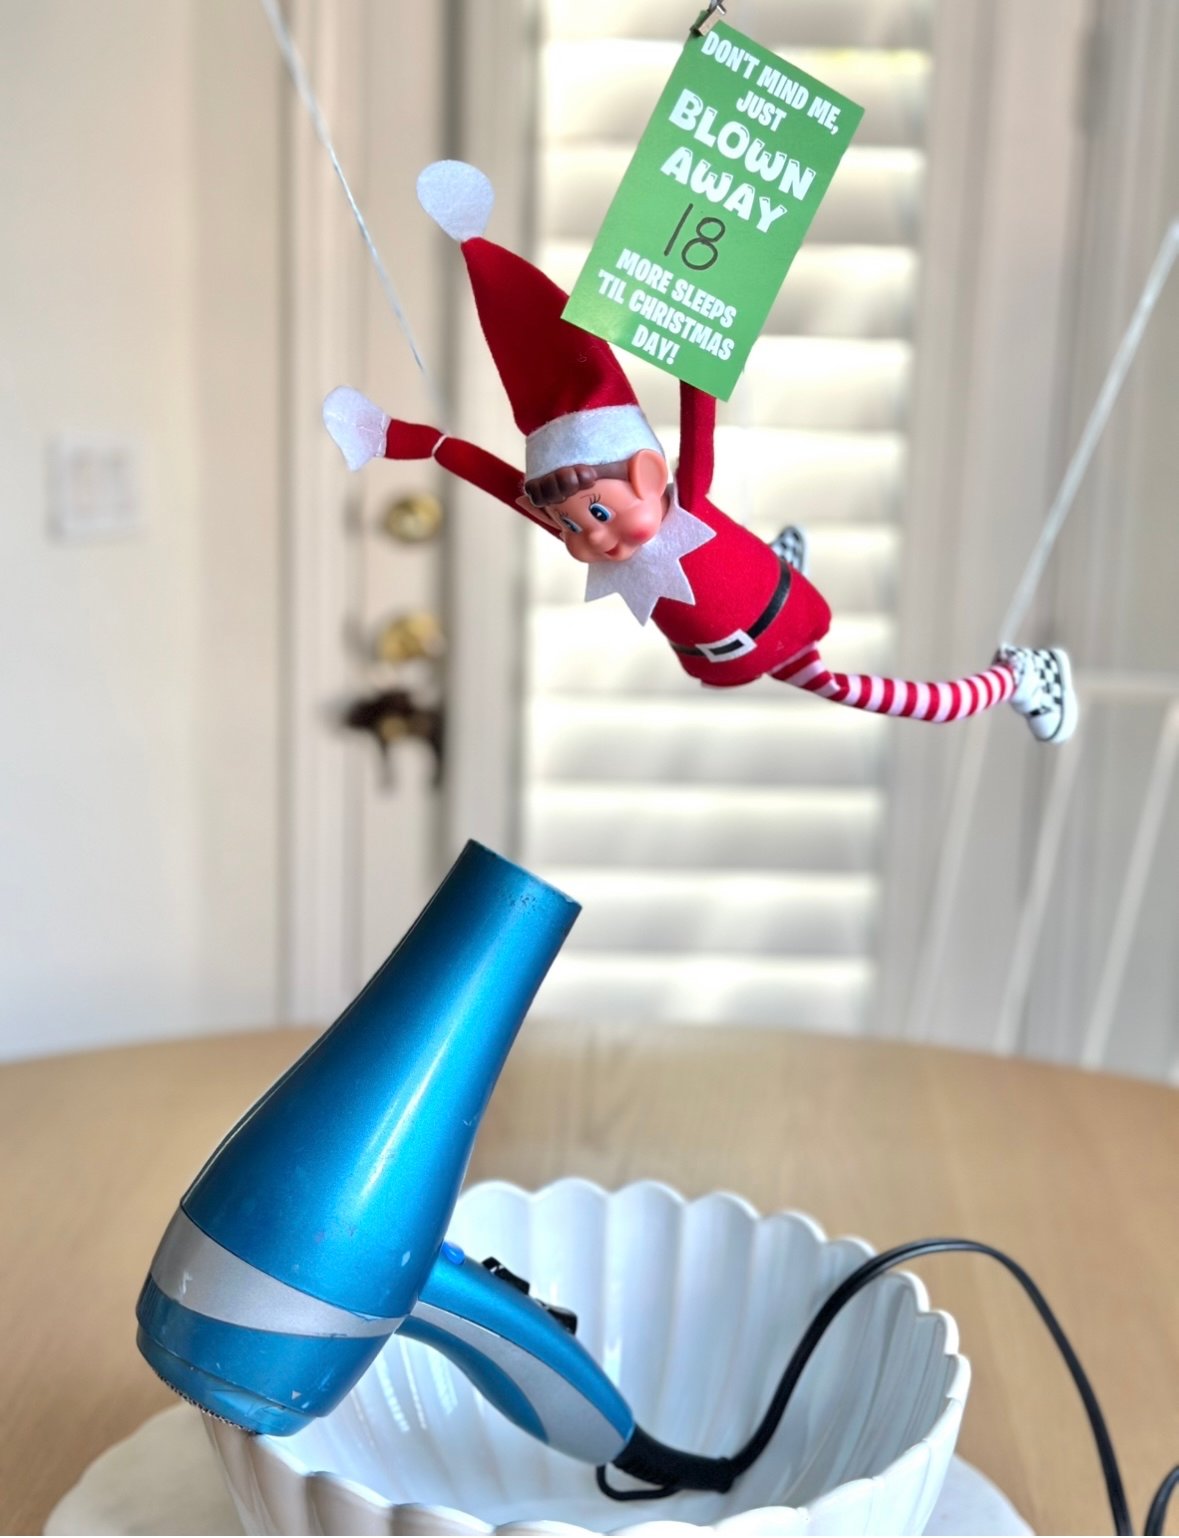
Supplies: White roll of string-we will use this for multiple days, mini clothespin, blown away card, hair dryer or fan, sharpie or pen
Instructions: Tie pieces on the string the the elf’s arms and feet. Hand him somewhere in your home. I used the light fixture above our breakfast table, tying each string to a different part of the fixture. Position the hair dryer or fan to make it look like the elf is being “blown away!” I used a kitchen bowl to hold my hairdryer in place. Write the number of days until Christmas on your card. Use the mini clothespin to clip the card onto the string or your elf.
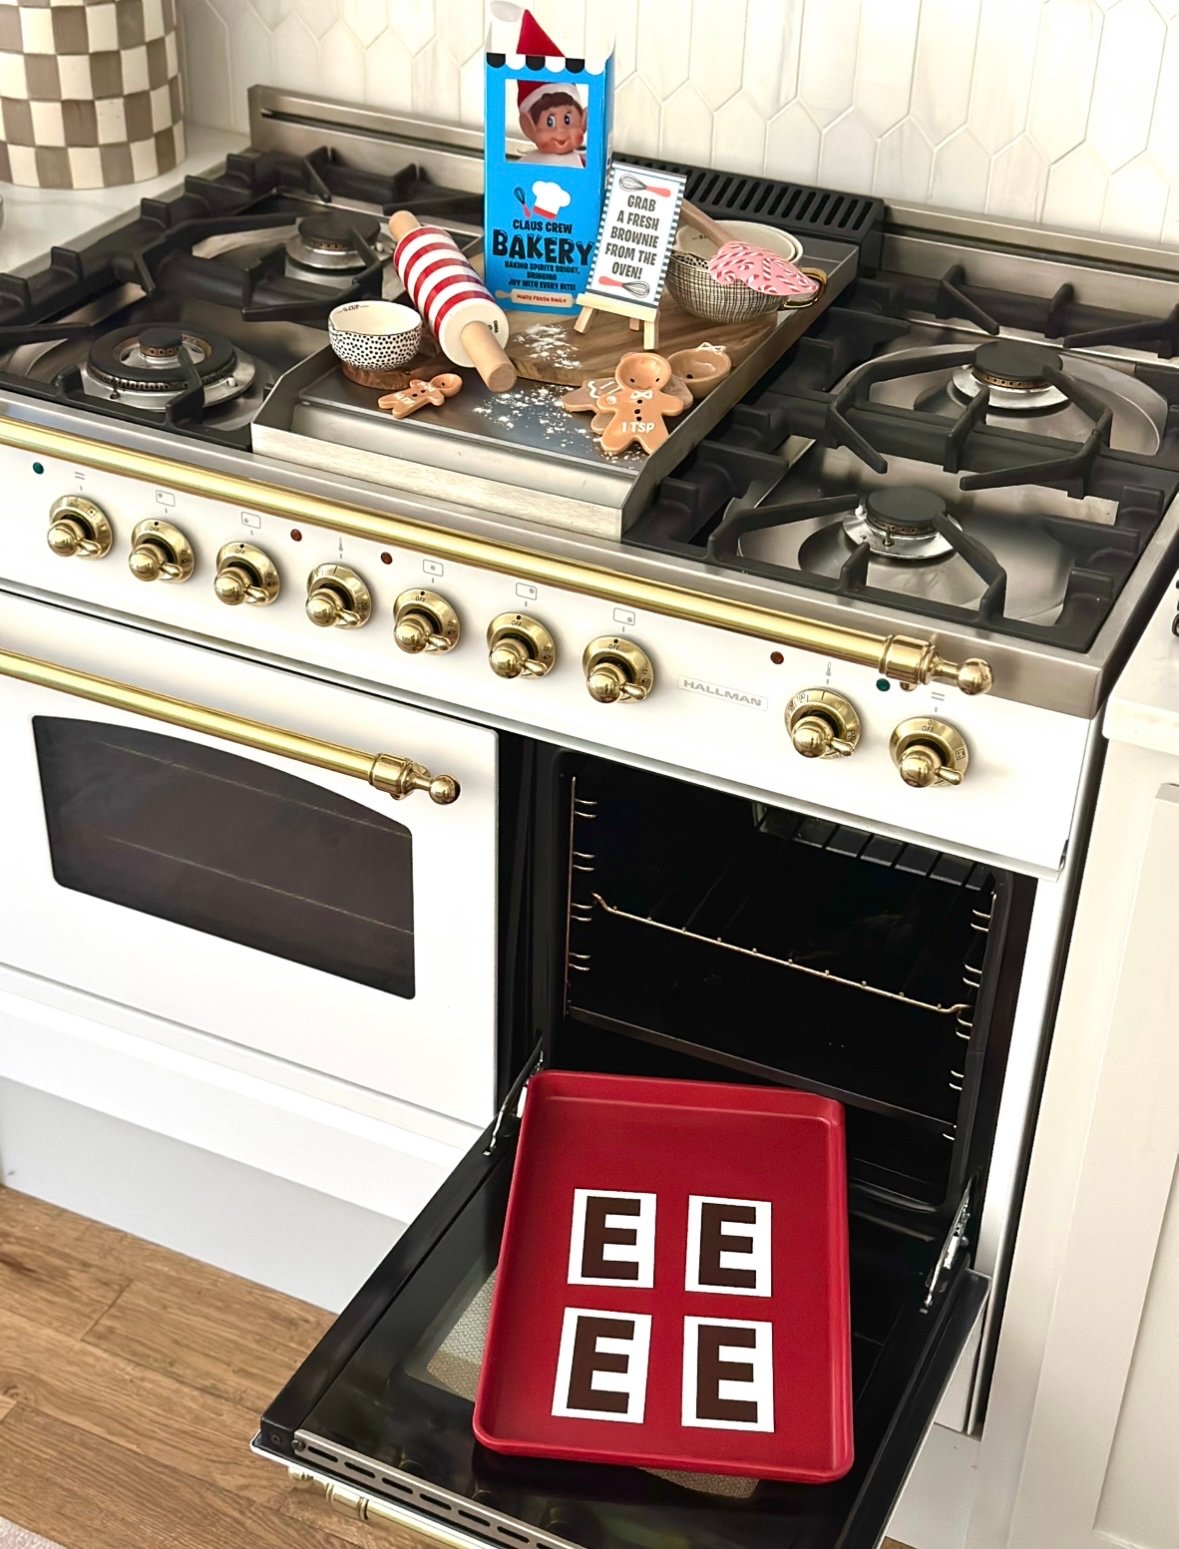
Day 7: Claus Crew Bakery
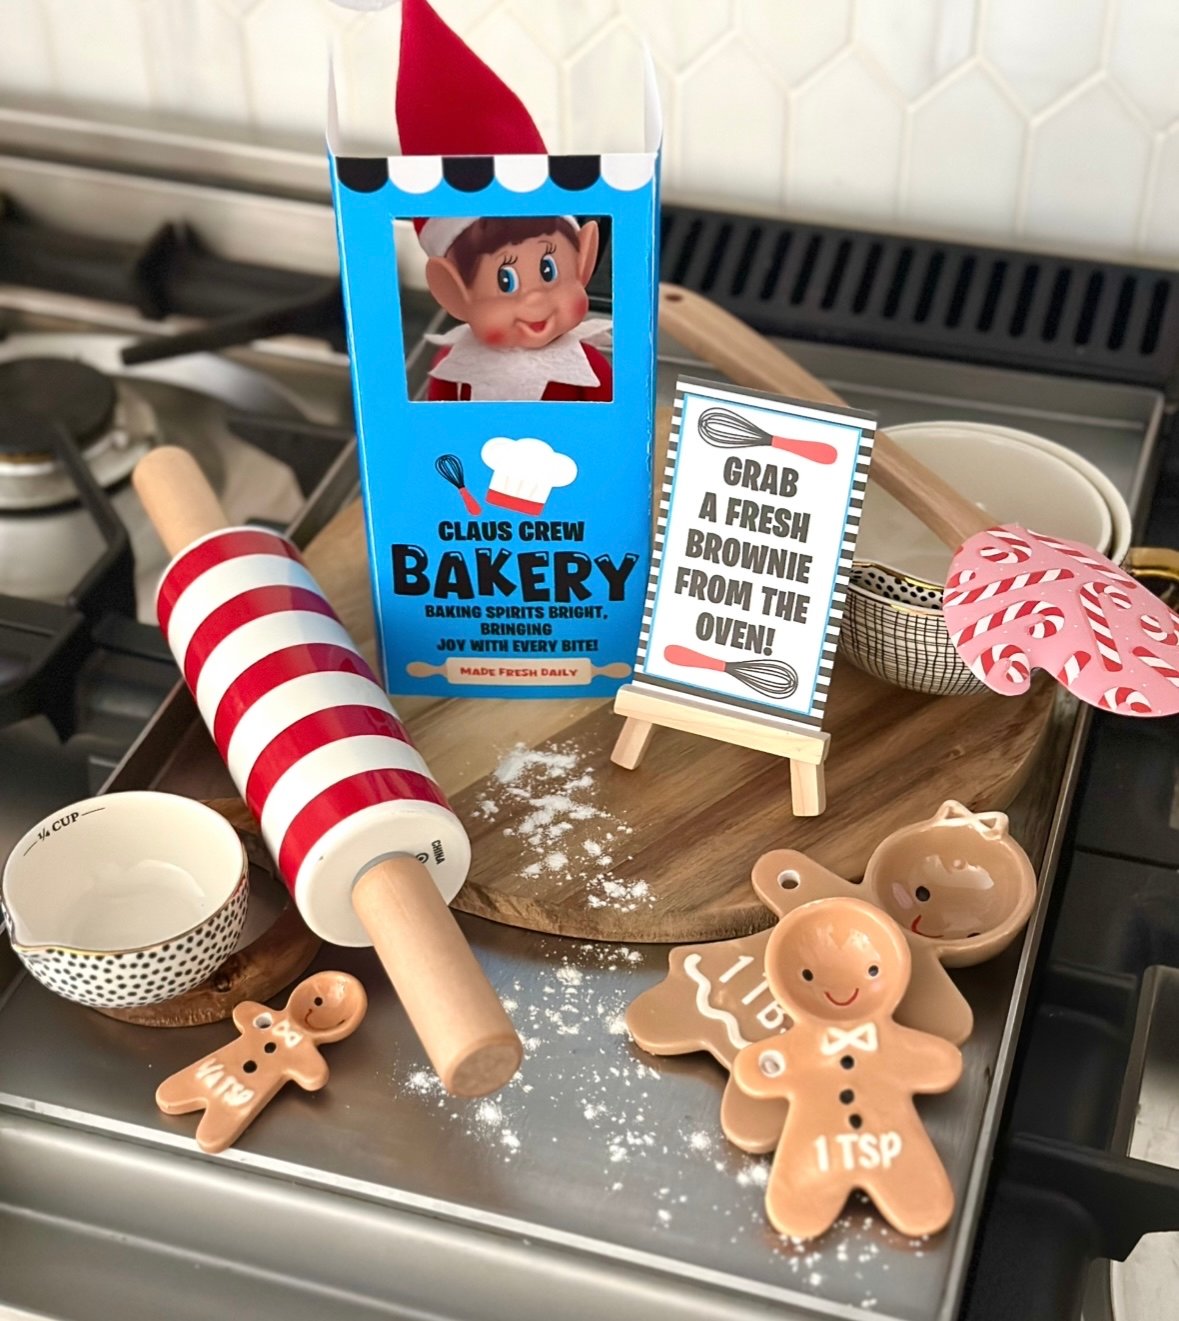
Supplies: Bakery sheet-in the bottom of your kit, black plastic cup, Grab a fresh brownie card, wooden easel, 4 E cards, flour and baking utensils(optional)
Instructions: Fold your bakery sheet along the white lines to make a tri-fold.

Place your elf inside the black cup so he is balanced. Place the cup behind the trifold so the elf’s face shows through the square cutout. Place the “Grab a fresh brownie” card on the wooden easel near the trifold. Scatter a little flour and baking utensils around.
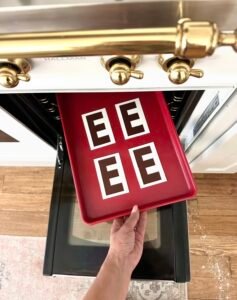
Place your four E cards on a baking sheet in the oven. If you have more than one elf, you can place the other elf with the brown E’s (BROWNIES!). Close the oven and let your child discover the elf’s play on words!
Day 8: Candy Mix Up
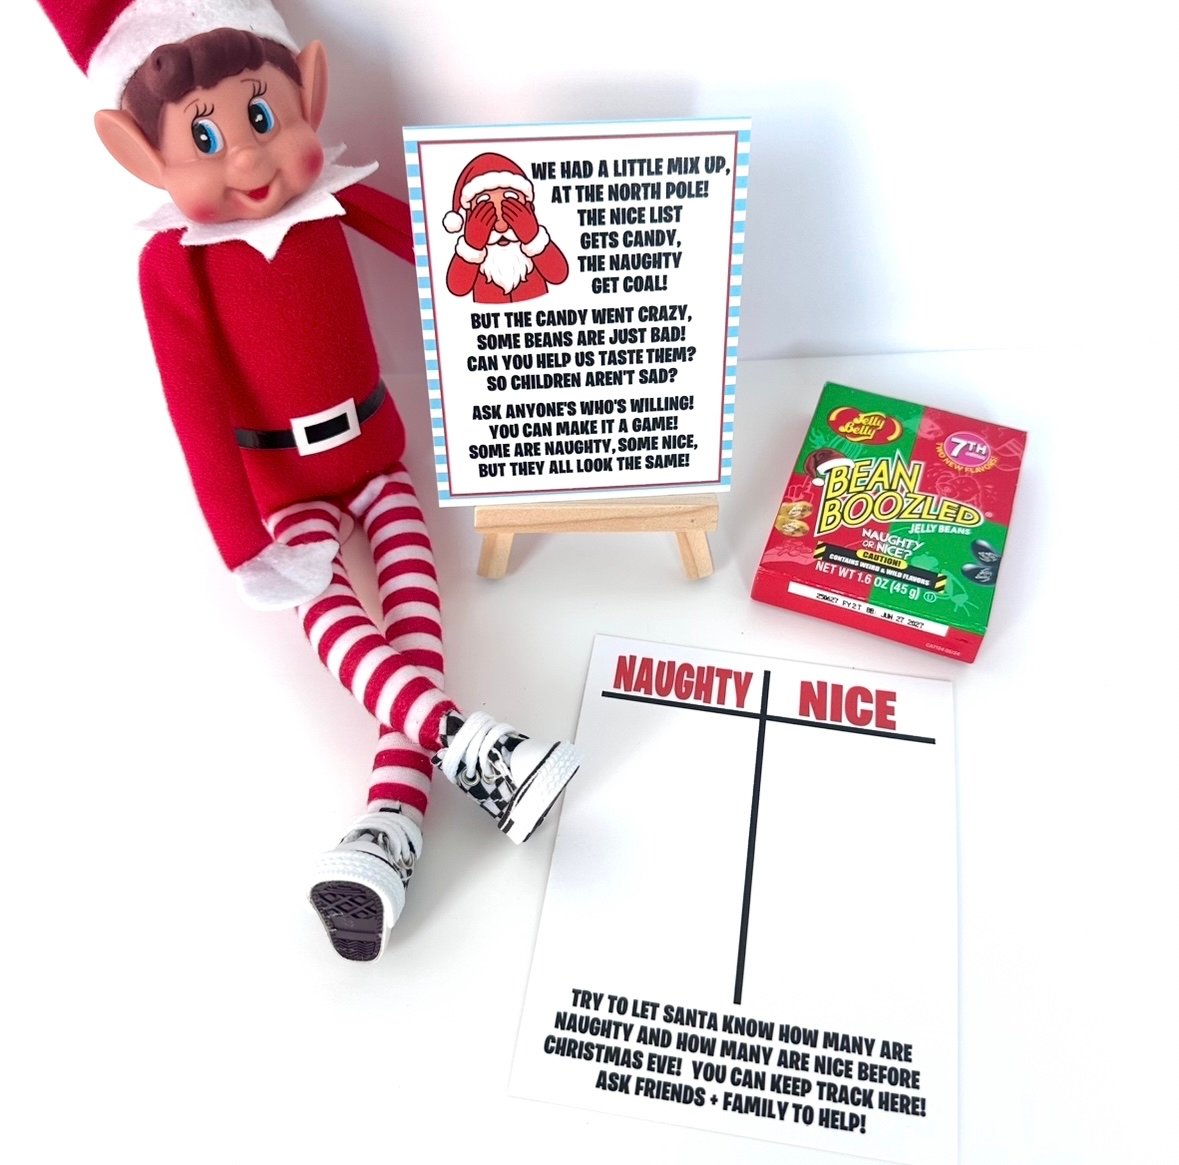
Supplies: Bean Boozled box, Mix up card, Naughty/Nice card
Instructions: Place the cards and Bean Boozled game out for your children to find. Taste test the bean boozled jelly beans with anyone willing to play….family, neighbors, friends, etc. Keep track on your naughty/nice card of how many are good and how many are bad….you might have a spit cup ready for the bad! Haha! My boys think this game is hilarious!
Day 9: Underwear
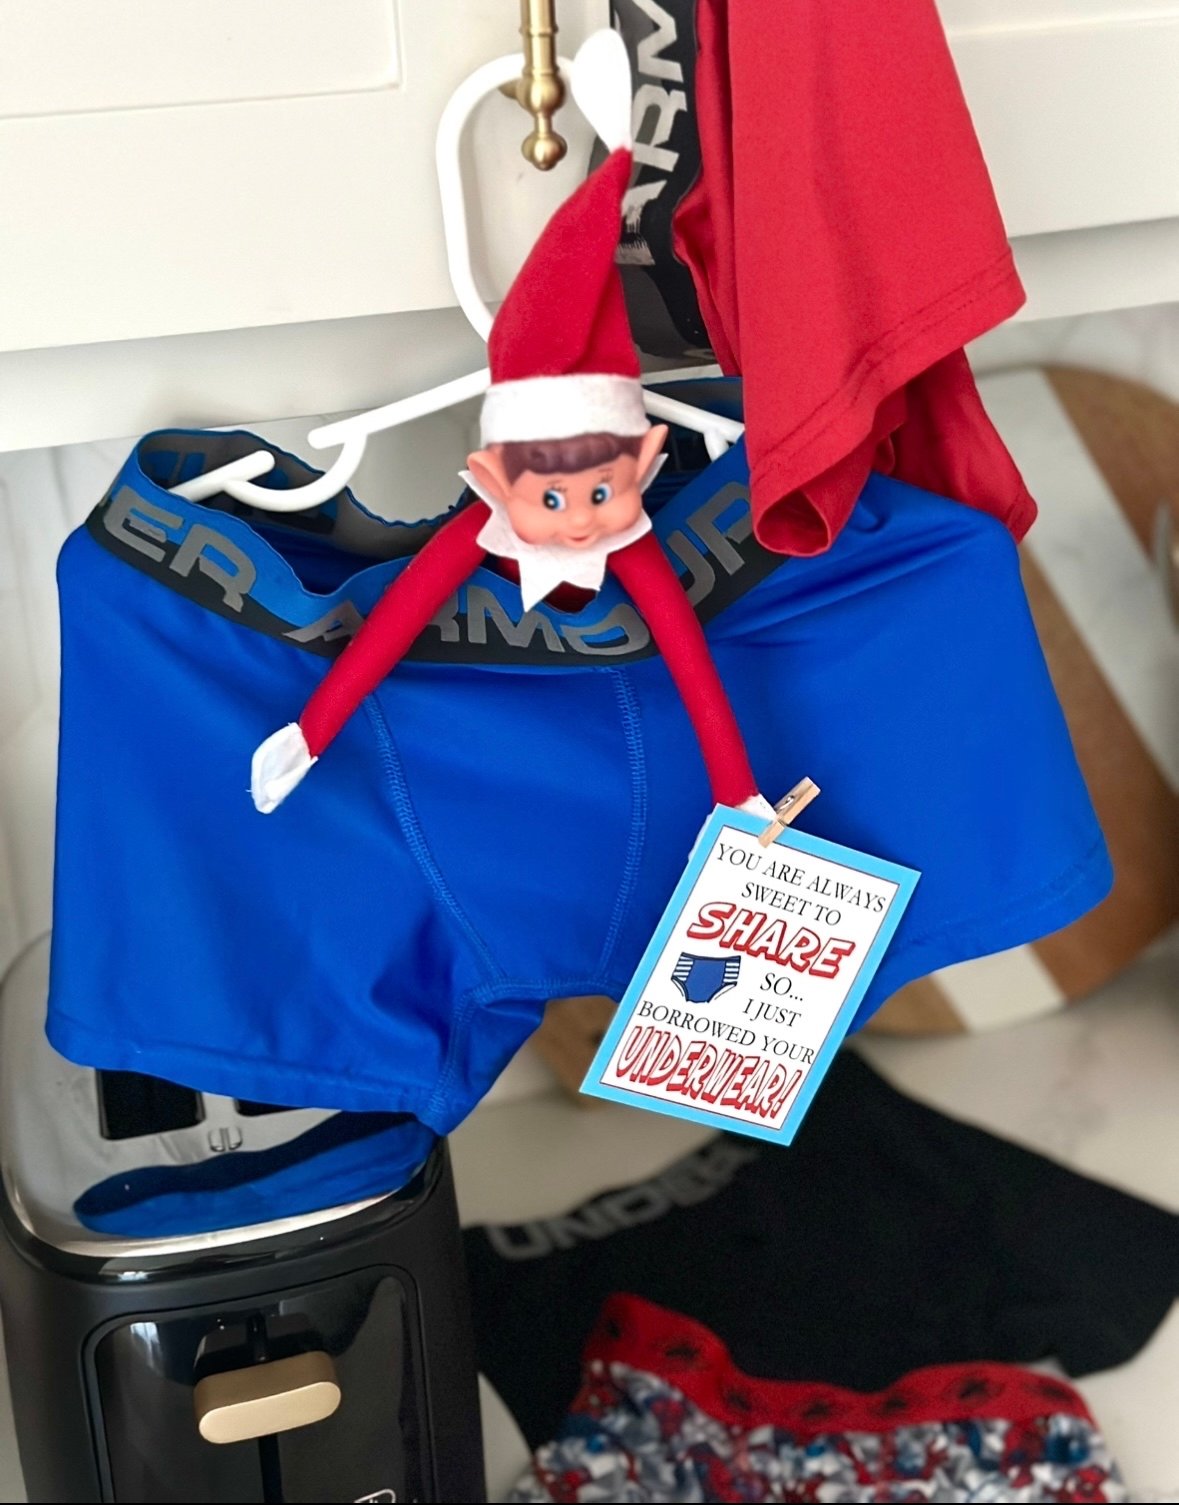
Supplies: Underwear card, mini clothespin, underwear-yours, your kids’, whatever they will find funny!
Instructions: Grab underwear for your elf to “borrow”. I used a hanger here and hung underwear around our kitchen, clipping the card to our elf. You would also have the underwear hanging from a ceiling fan, all over your Christmas tree, in the fridge…wherever your kids will get the most laughs!
Day 10: Not the Only One with a Red Nose
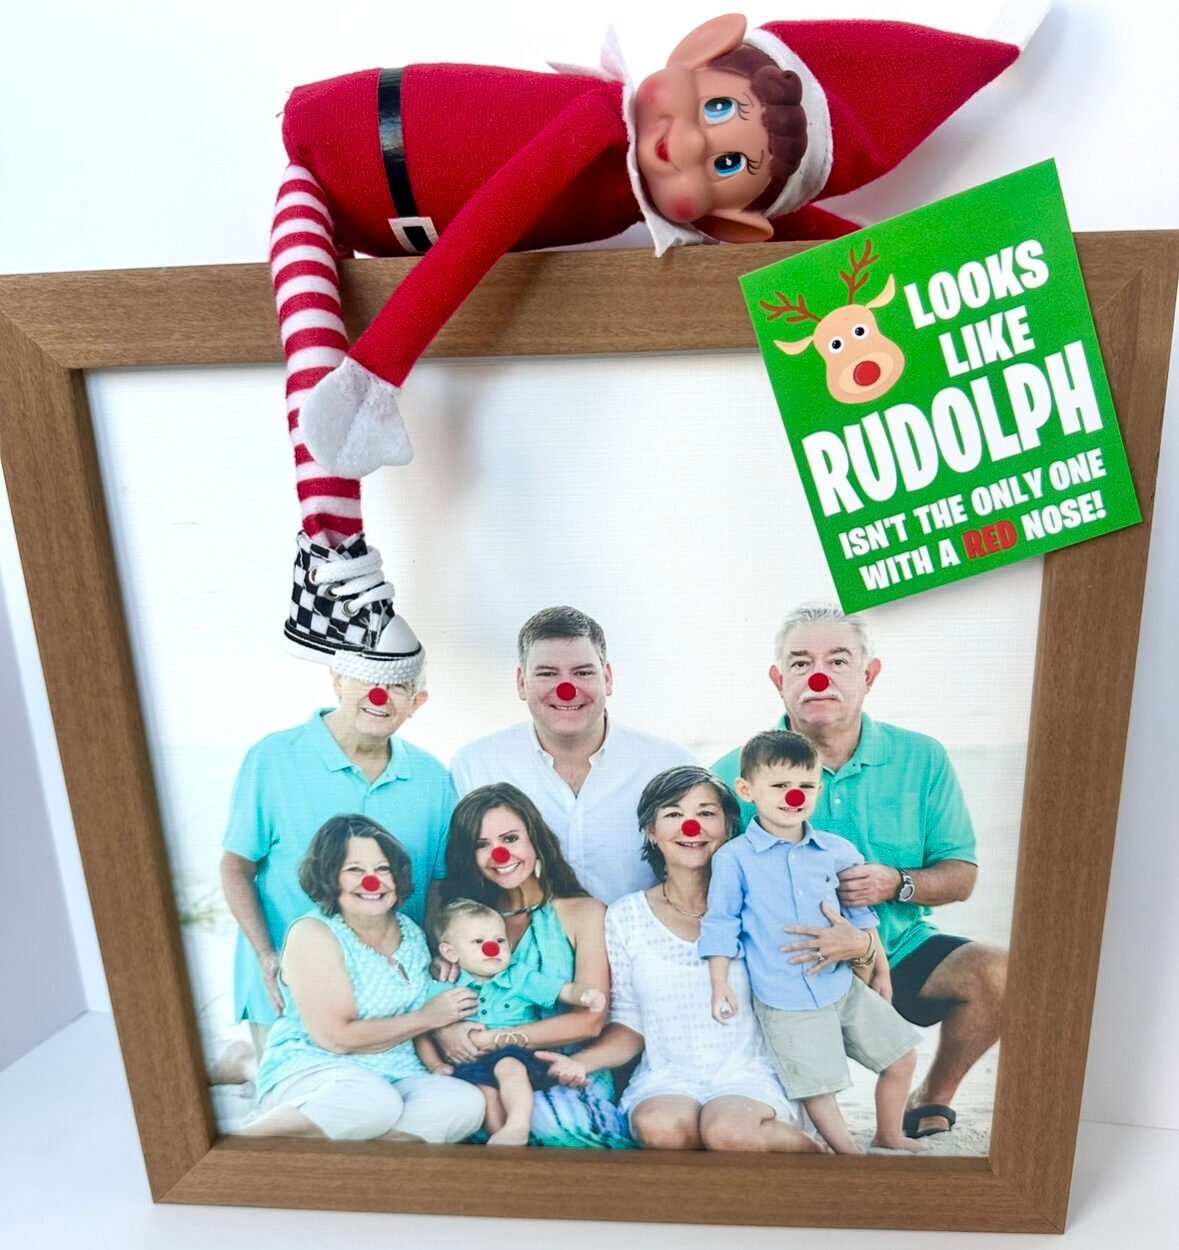
Supplies: Red dot stickers, Red nose card
Instructions: Place the red dot stickers on a family photo. Place the card nearby or use the easel to display! If you don’t want to use a photo, use one of your children’s books or items in your fridge or pantry with images of people or animals on them.
Day 11: Hang in There!
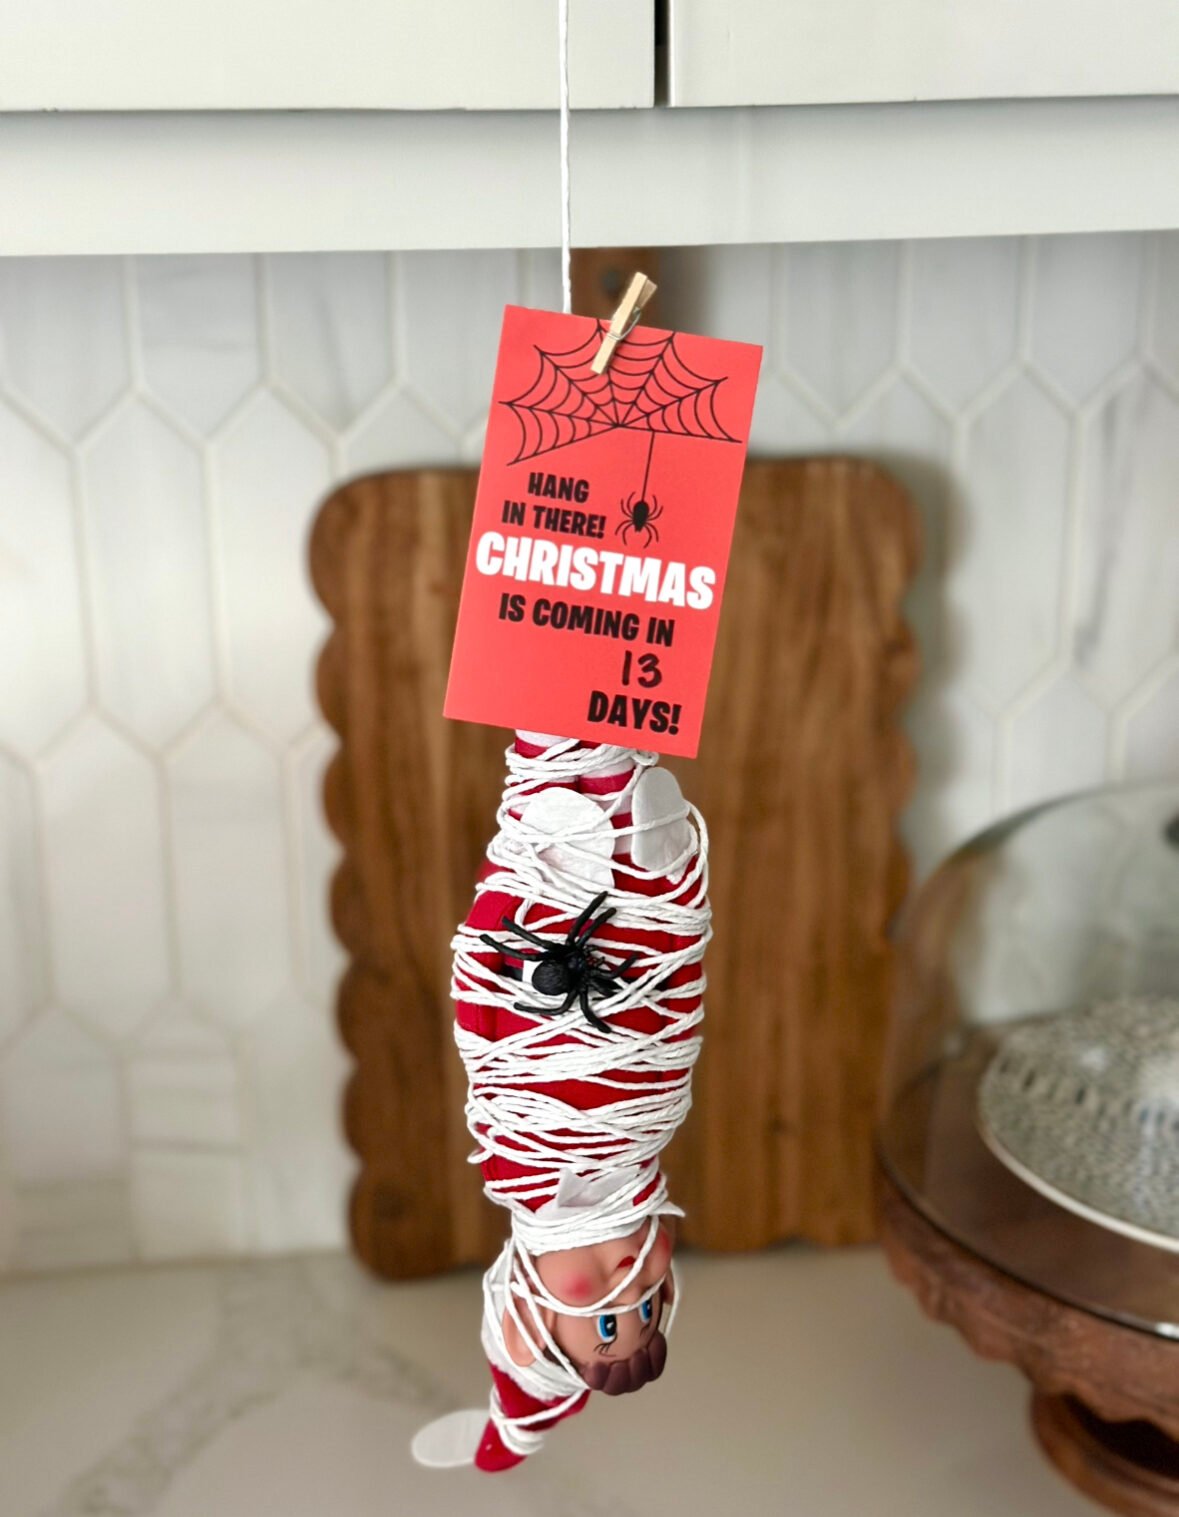
Supplies: Roll of white string, spider, spider card, mini clothespin, pen or sharpee
Instructions: Wrap your elf in the white string to look like a spider web. Use the string to hang your elf upside down. I tied mine to a cabinet pull in my kitchen. Tuck the spiders legs into some of the string to connect him to your elf. Write the number of days until Christmas on your card. Use the mini clothespin to clip the card to the string. If you have a Spiderman action figure or doll, that would be fun to incorporate into this day as well!
Day 12: We need an Adventure!
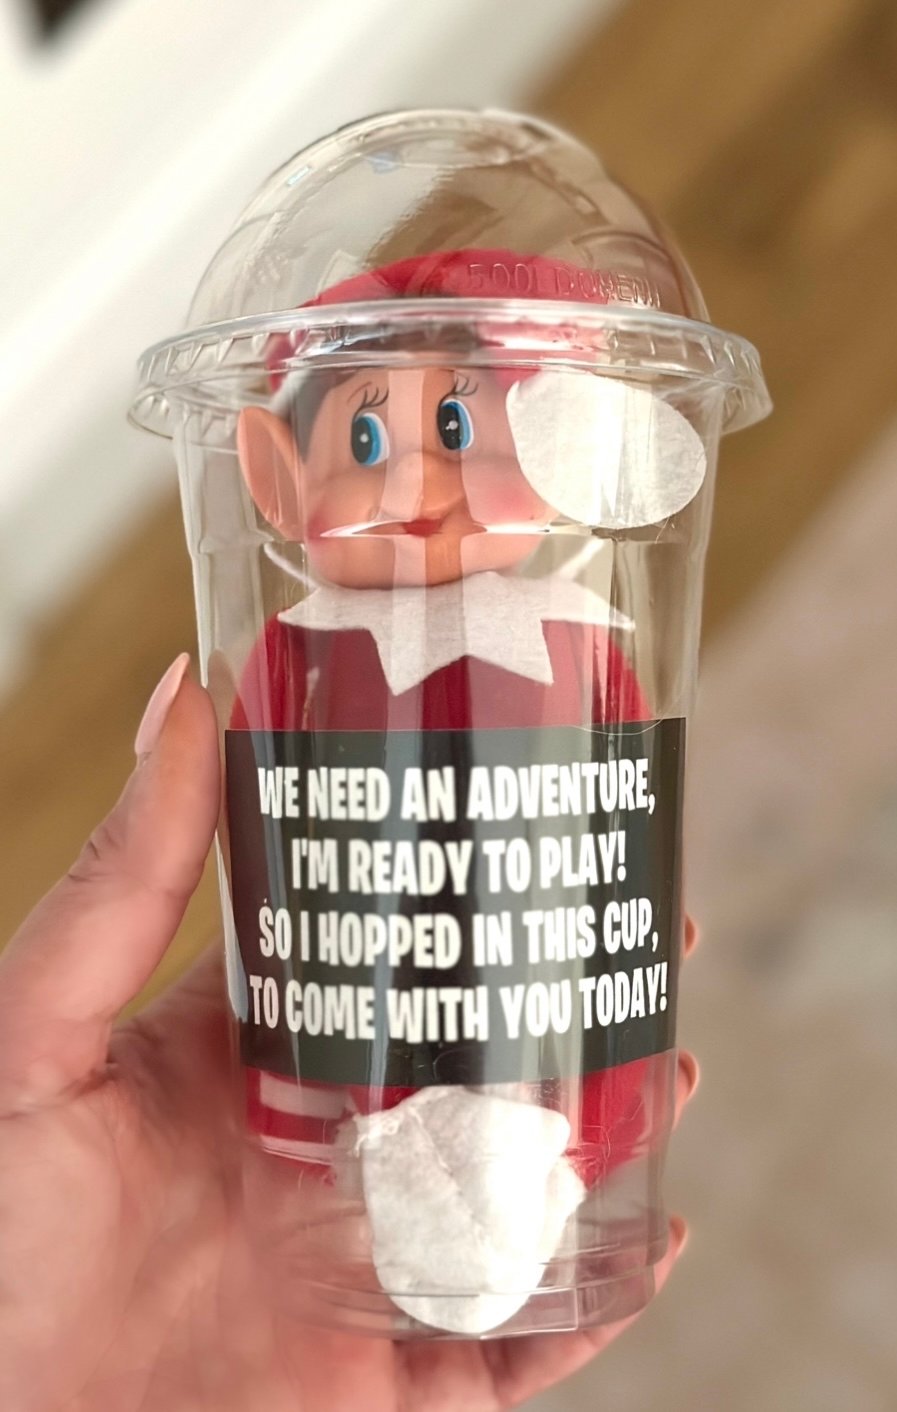
Supplies: Clear cup with lid, “We need an Adventure” card
Instructions: This is a Crisp Cringle kit favorite! Place your elf in the cup and take him along for an adventure! Again, other than the arrival and departure days, the order does not matter, so if you want to save this day for a specific activity, feel free to move days around! We’d LOVE to see all the places your elves go, so be sure to tag us on Instagram @crispcollectiveig
Day 13: Christmas Light Scavenger Hunt
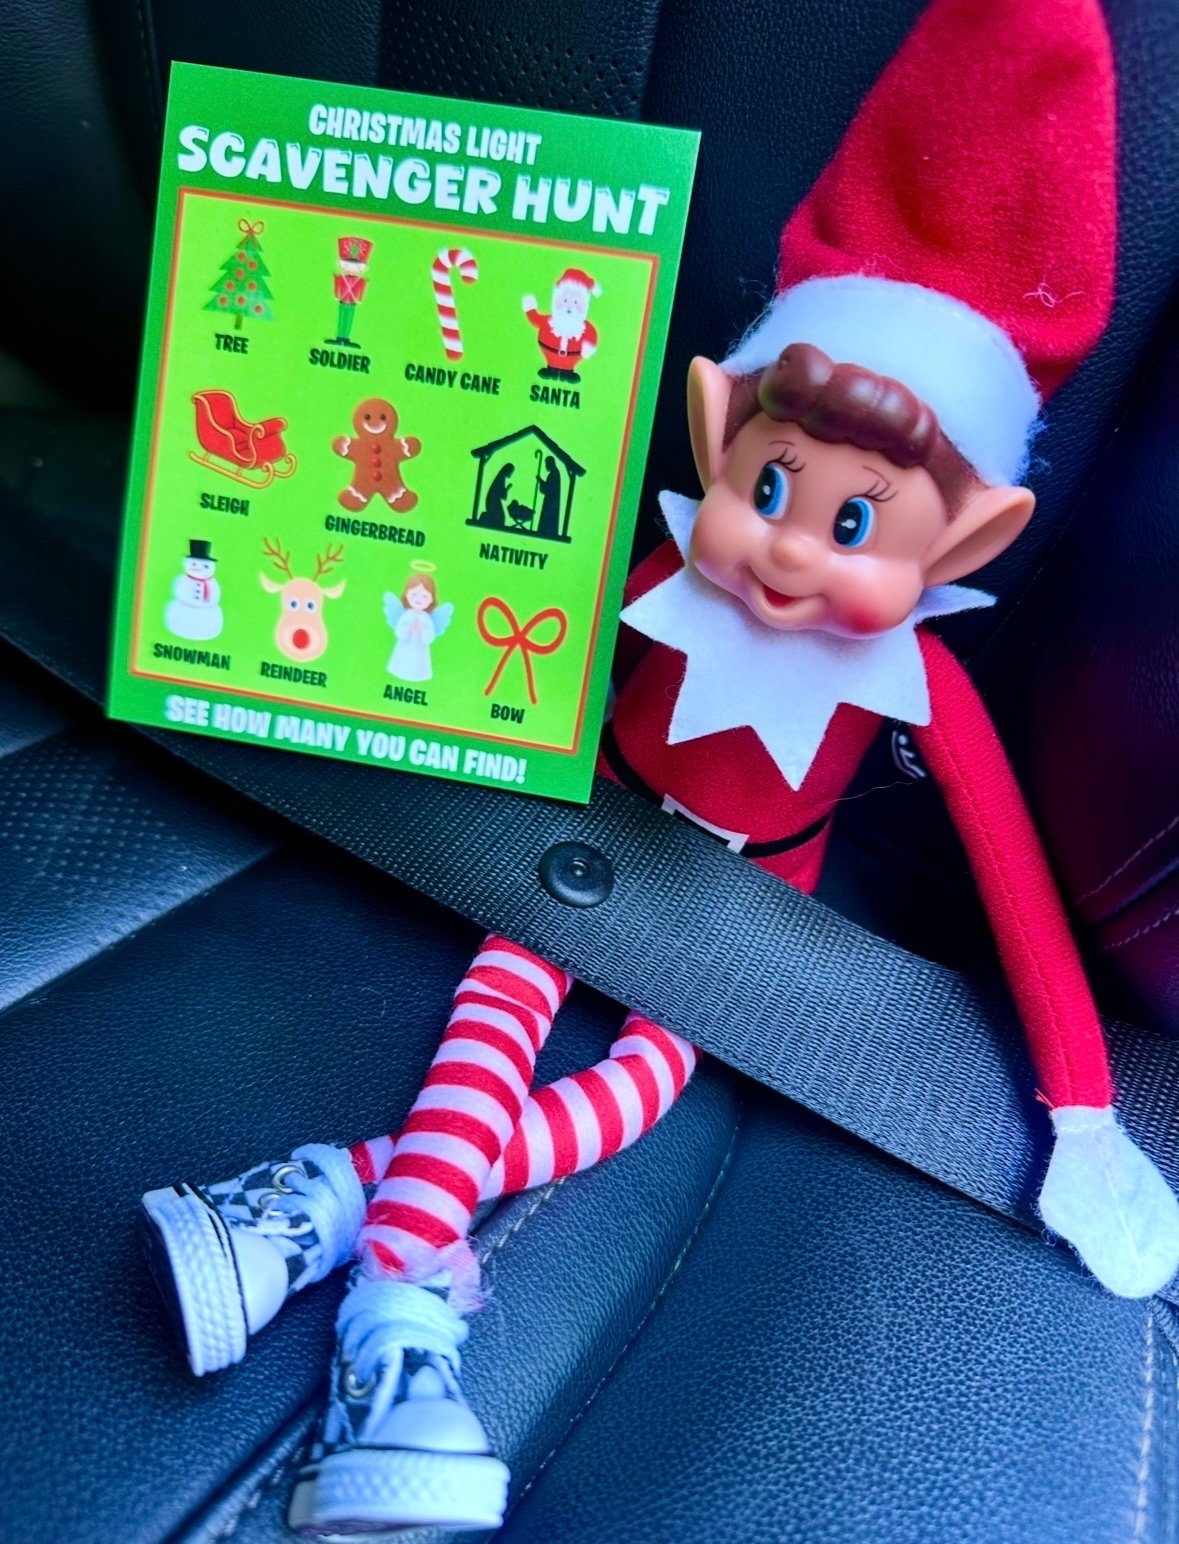
Supplies: Scavenger hunt card
Instructions: I placed our elf in our car, buckled his seatbelt and placed the scavenger hunt card nearby. If the car does not work, place this anywhere around the house. Take the scavenger hunt card with you whenever you go to look at lights and mark each item off as you find them. If you ordered for additional kids, each child has their own scavenger hunt card. This is one of our favorite family traditions, and I hope it becomes one of yours! You can also use the cup from Day 12 to take your elf along for the ride!
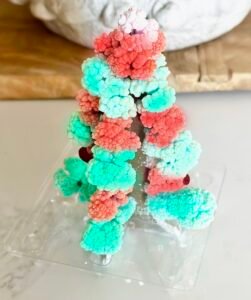
Day 14: Let’s Grow a Tree!
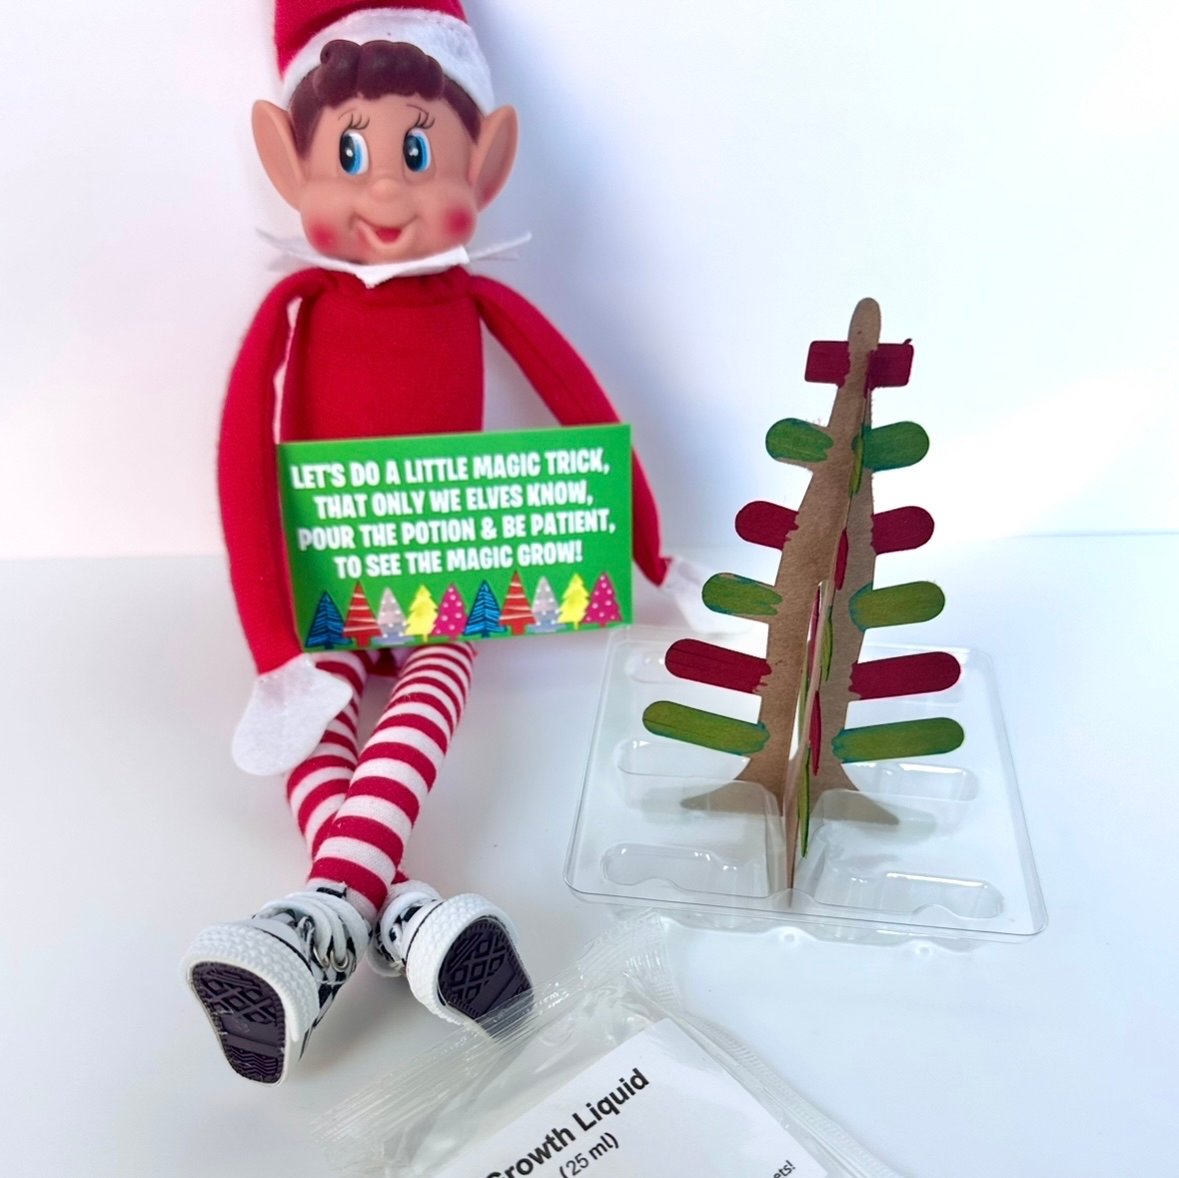
Supplies: DIY tree (1 per child), “magic trick” card
Instructions: Set up your tree per the box instructions. Help your child pour the magic growth liquid all over their tree. I dumped the leftover liquid that was collected in the plastic tray into a cup and re-poured it over the tree until it was pretty much all used.
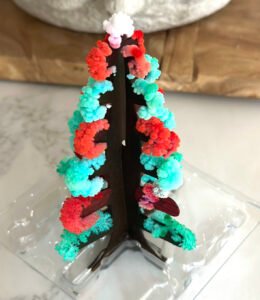
Within a few hours your tree will begin to “grow”
Day 15: I Made You Breakfast!

Supplies: Apron, chef’s hat, “I Made You Breakfast” card, skittles, ramen, two wooden sticks, a fork, a small bowl, an apple, potato or lemon….something to secure your wooden sticks (see below!)

Instructions: Tie your apron onto your elf and place his chef’s hat on his head.
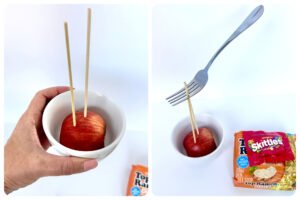
Cut your apple/potato/lemon in half and place it in your small bowl with the flat side down. Stick the pointy ends of your wooden sticks into the fruit/veggie until they seem secure. Place the wooden sticks into 2 of the spaces between the prongs on your fork, at an angle. Push the wooden sticks into the space until it feels secure and the fork can “float” there on its own. Prepare the Ramen per the package instructions….I just did the microwave for a couple of minutes. Place the ramen over the fork and in the bowl so that the apple and sticks are hidden. Place skittles in the noodles. Place the “I made you breakfast” card in your elf’s lap!
Breakfast is served!!
Day 16: Pin the Nose on Rudoph
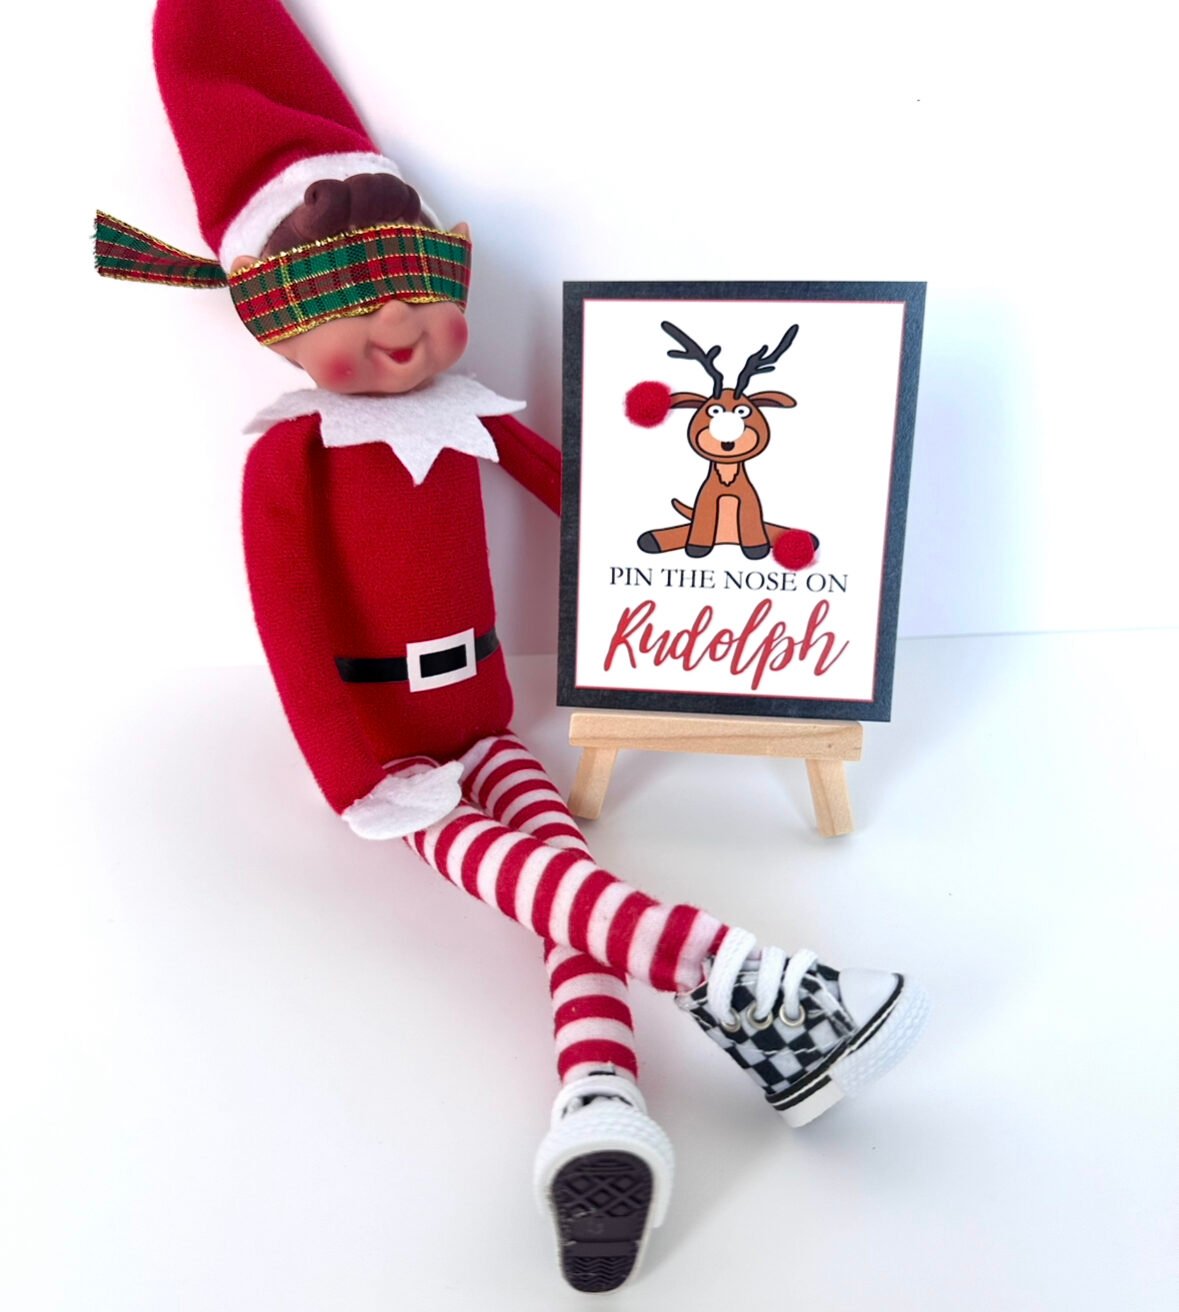
Supplies: Blindfold, “pin the nose” card, wooden easel
Instructions: Tie the blindfold to cover your elf’s eyes. Place the card on the easel.
Day 17: Rub a Dub Dub
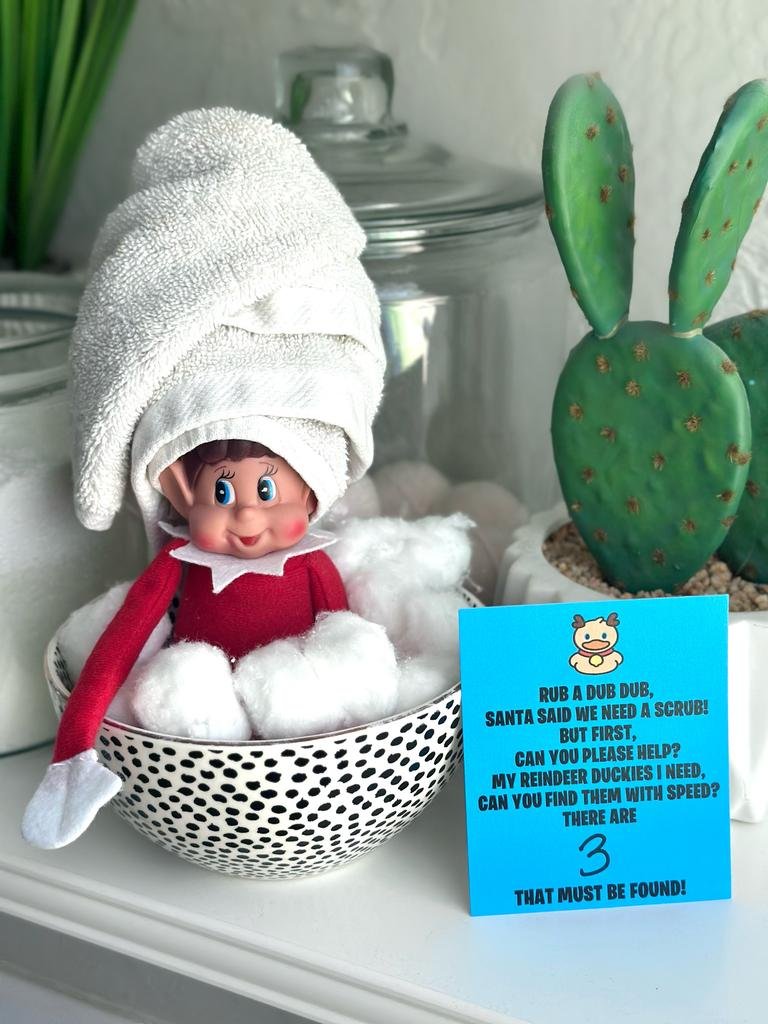
Supplies: Mini reindeer ducks, Rub a du dub card, pen or sharpee
Instructions: Write the number of ducks you’re hiding on your card. Place your elf somewhere in a bathroom. I made a “bath” for mine with a kitchen bowl and cotton balls (marshmallows work too!). I used a wash cloth to wrap around his head. You can also place him in the shower among your toiletries or hang in from the faucet.
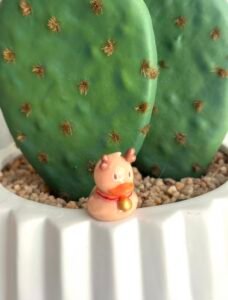
Let your kids search for all the tiny reindeer ducks while your elf gets a little R&R!
Day 18: Elf Car Wash
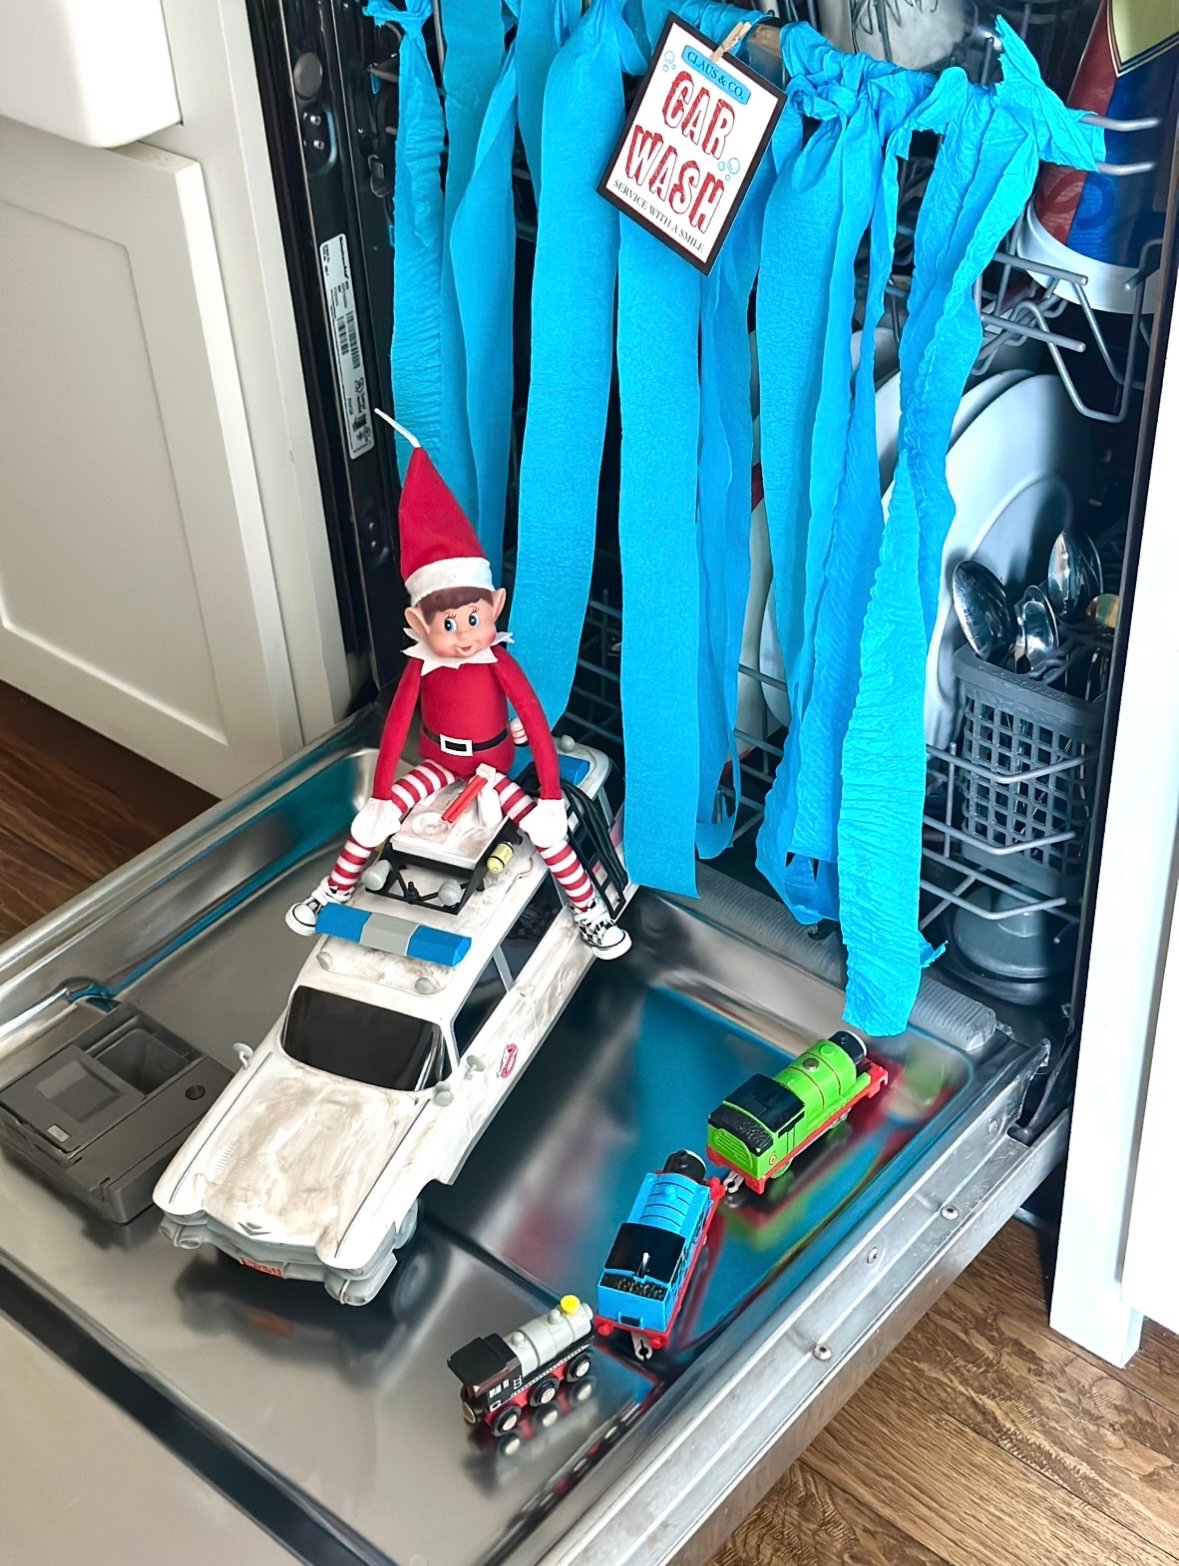
Supplies: Blue crepe paper, “Elf car wash” sign
Instructions: Tear strips of the crepe paper and tie them to your dishwasher. Clip the card on using your mini clothespin. Line up toy cars and trucks (or even stuffed animals) as patrons of your car wash!
Day 19: What’s Your Elf Name?
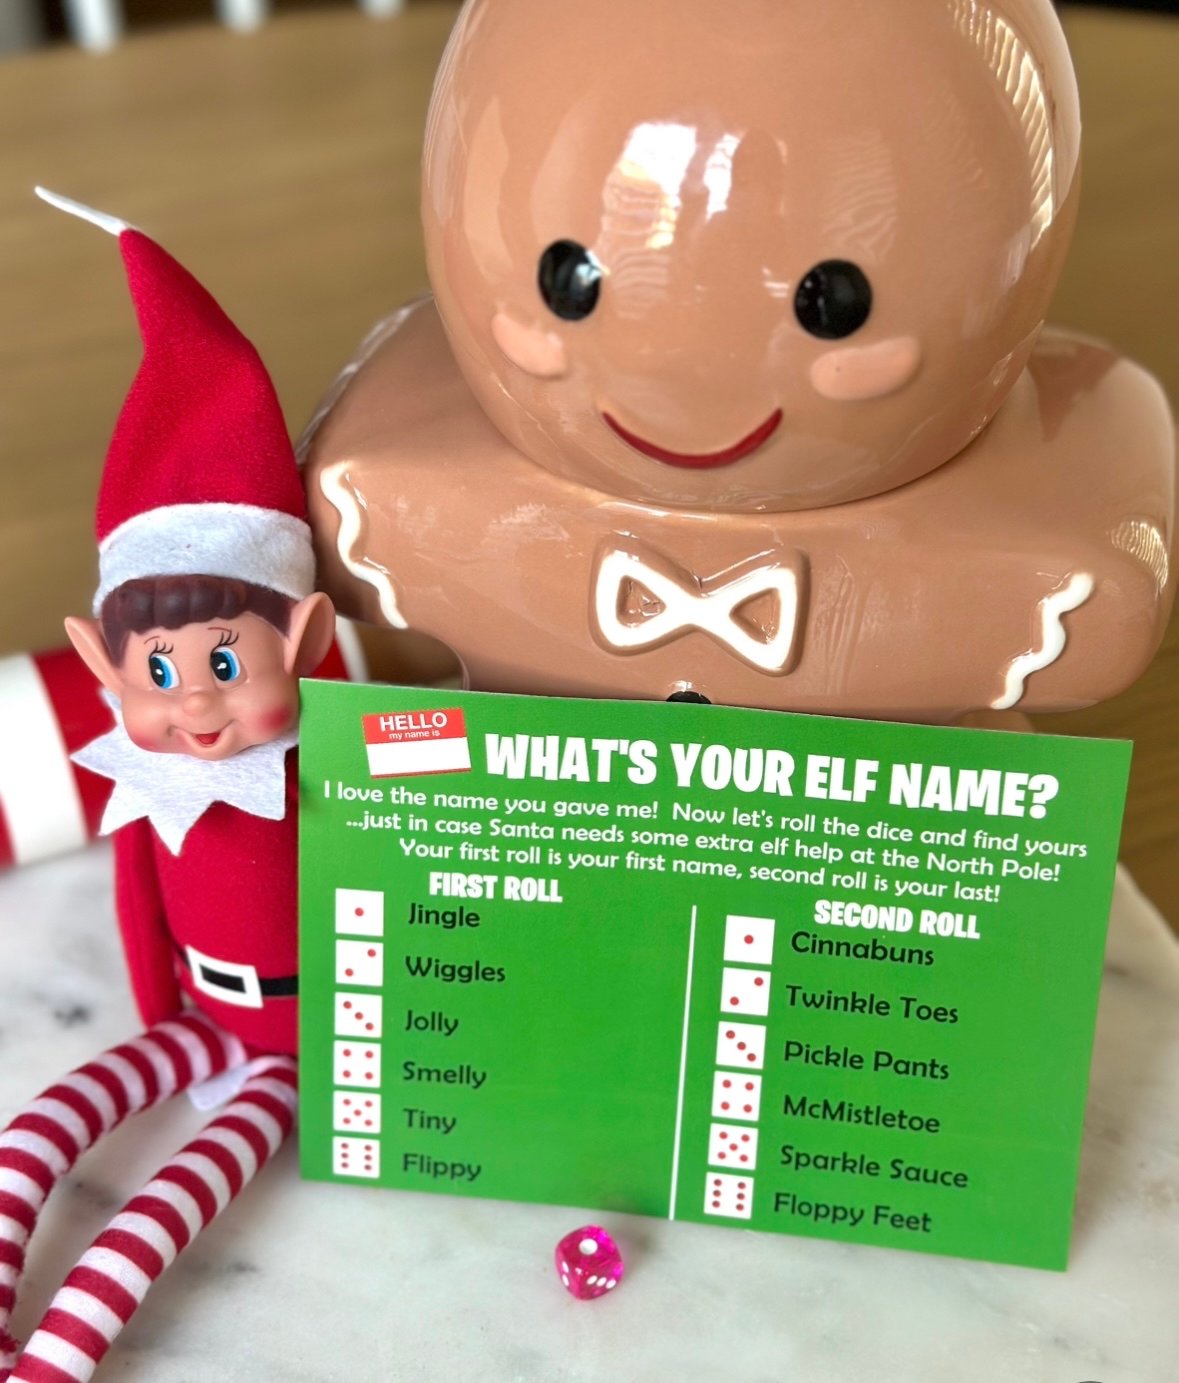
Supplies: Elf name card, dice
Instructions: Set your card and dice out with your elf. Have your kids, family, friends, etc. roll the dice to learn their elf name!
Day 20: Shark Attack!!
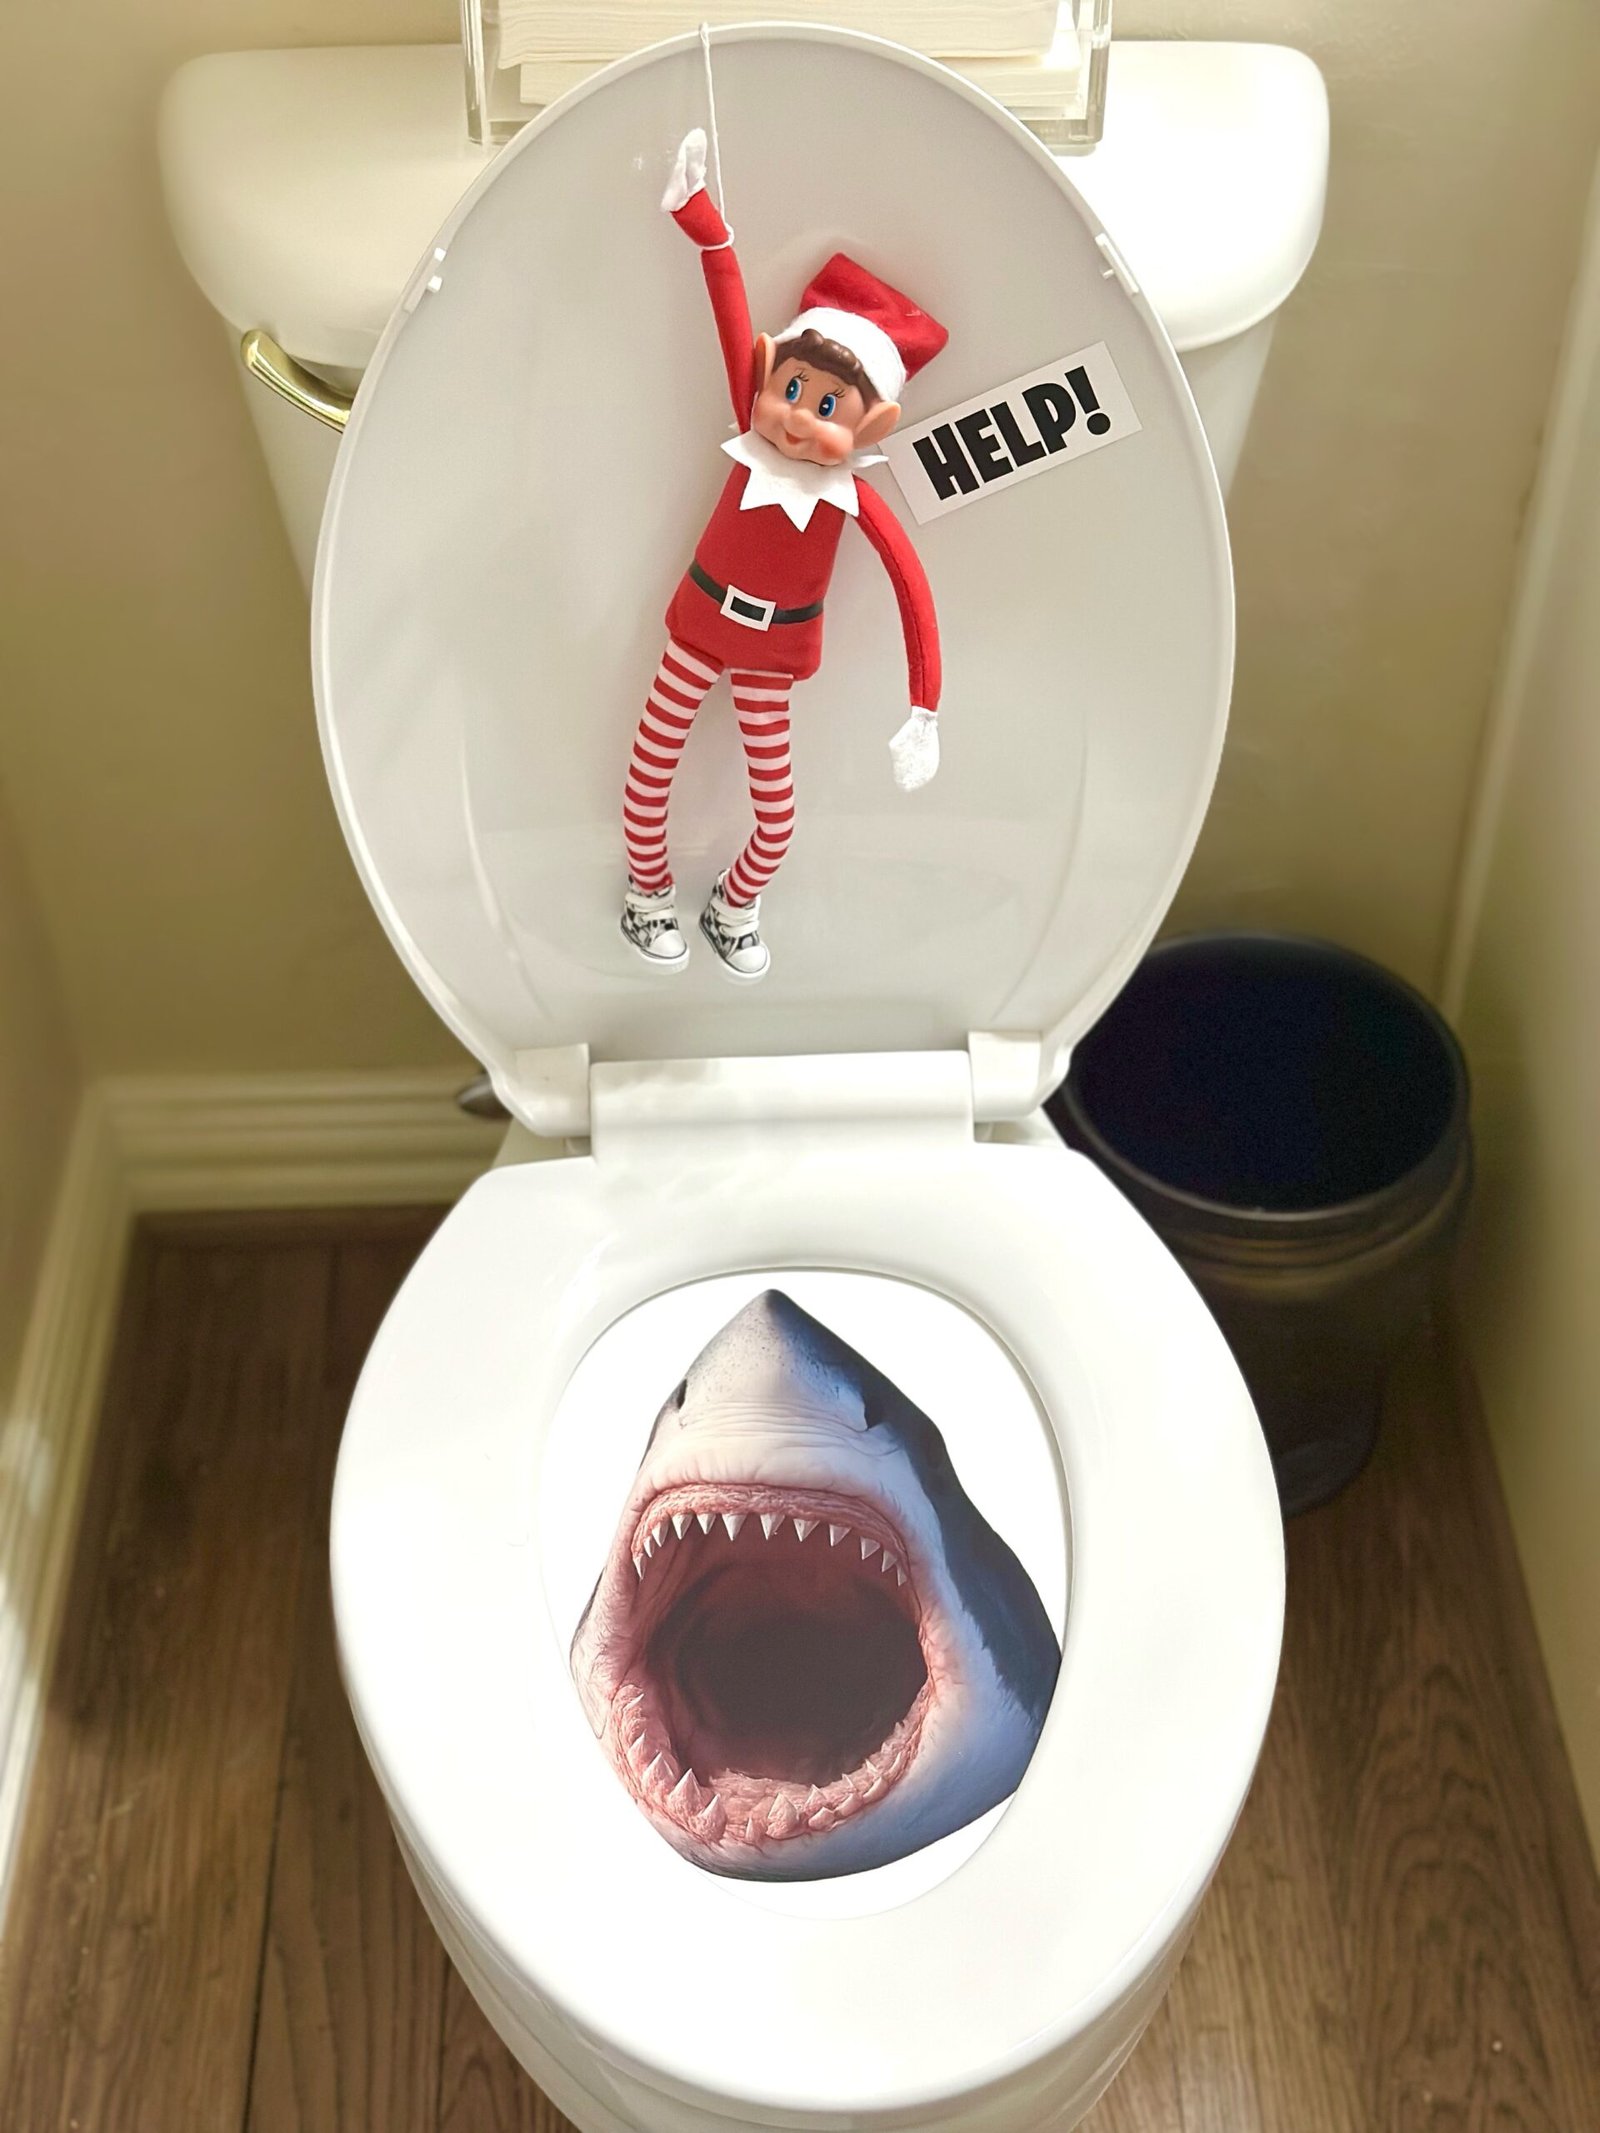
Supplies: Shark sheet-found at the bottom of your elf kit box, Help! sign, white string, tape
Instructions: Place your shark sheet under your toilet seat. You may want to add a little piece of tape to secure it! Tie a piece of string to your elf’s arm. Lift the toilet seat lid and tape the string to the back of the lid so your elf is hanging. If you have more than one elf, your other elf/elves can be holding this string from the top of the toilet. Tape the “Help!” sign by your elf’s face.
Day 21: Warm Wishes + Christmas Kisses
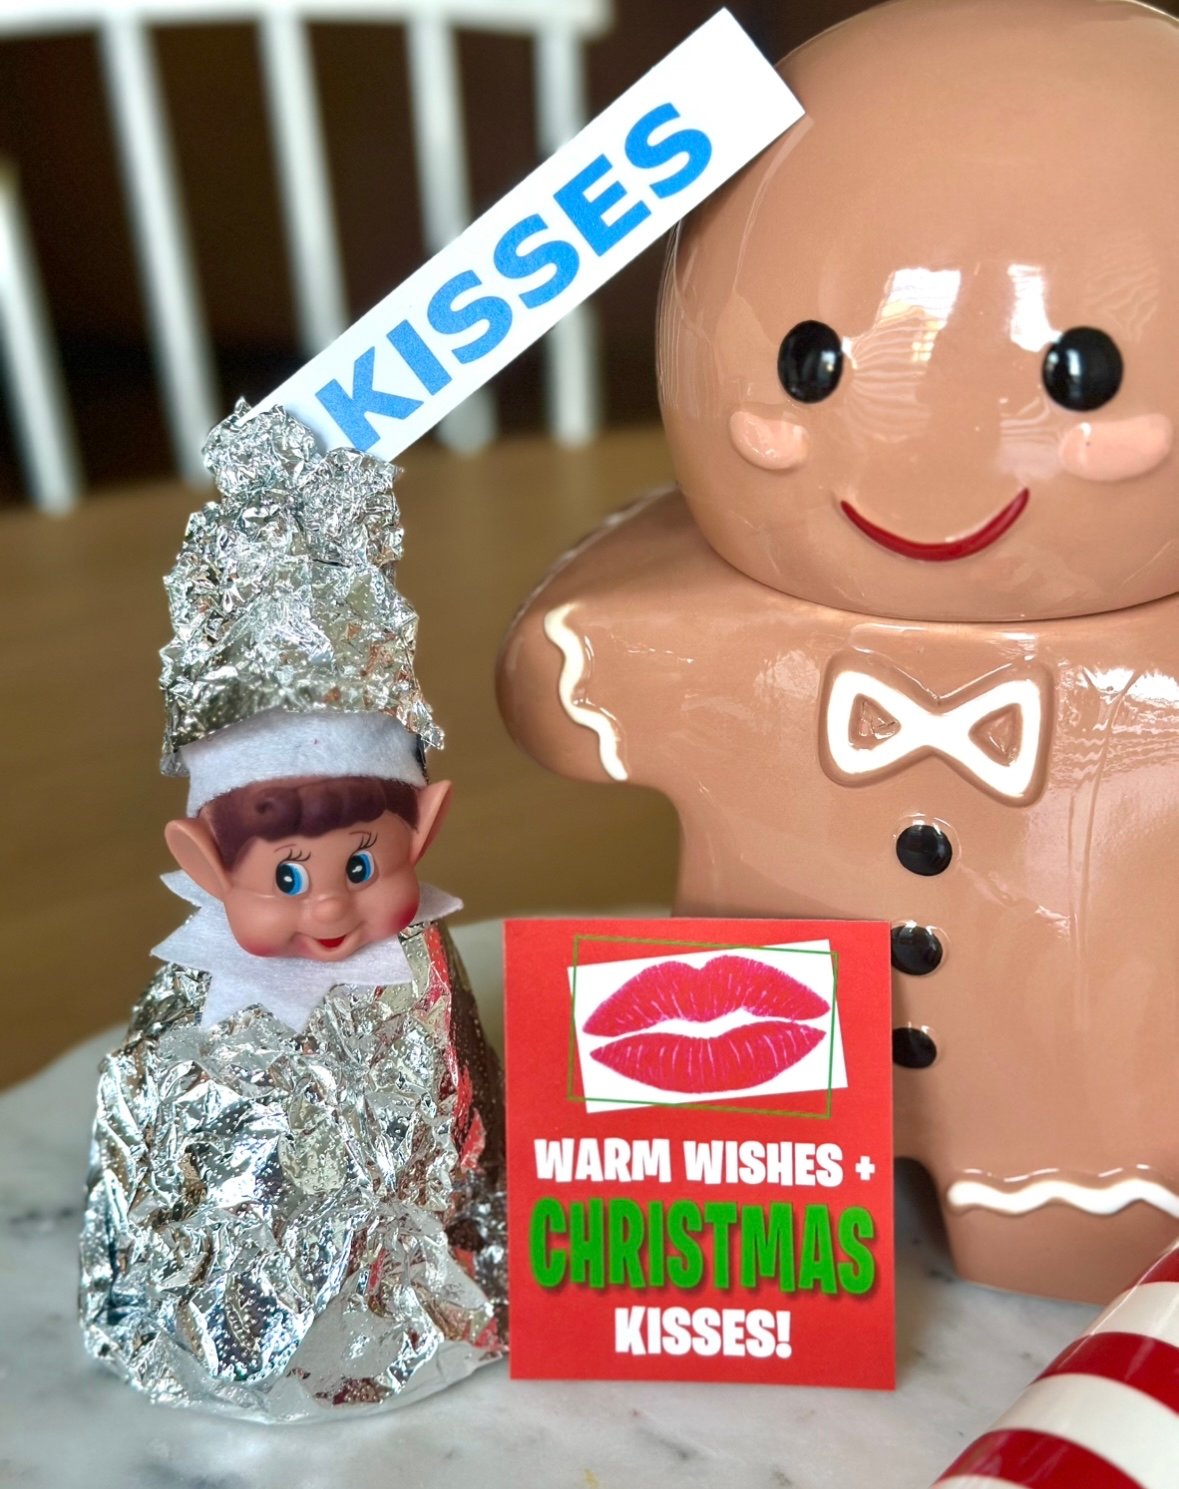
Supplies: Silver circle, Foil sheets, Kisses tag, Warm wishes card
Instructions: Fold your elf and sit him on the silver circle to serve as a base. Wrap the sheets of foil around the base and your elf. Use half a sheet to wrap his hat. Insert the Kisses tag at the top. Use tape to secure if needed. Place the “Warm Wishes” card close by or set it on the wooden easel.
Day 22: Santa’s Sack Races

Supplies: 3 mini brown paper sacks, “Santa’s sack races” card, easel, “Finish” card, white string, tape, a couple of action figures, Barbies, stuffed animals, etc.
Instructions: Tape your string to the back of the finish card and tie each end to something-I used 2 bottles of syrup. Place your elf and action figures/Barbies/stuffed animals in the paper bags. I cut the front of each sack and folded it down, based on the size of the racer. Stagger them so it looks like a race. Place the sack race card of the easel in front of the finish line.
Day 23: Santa’s Story Time
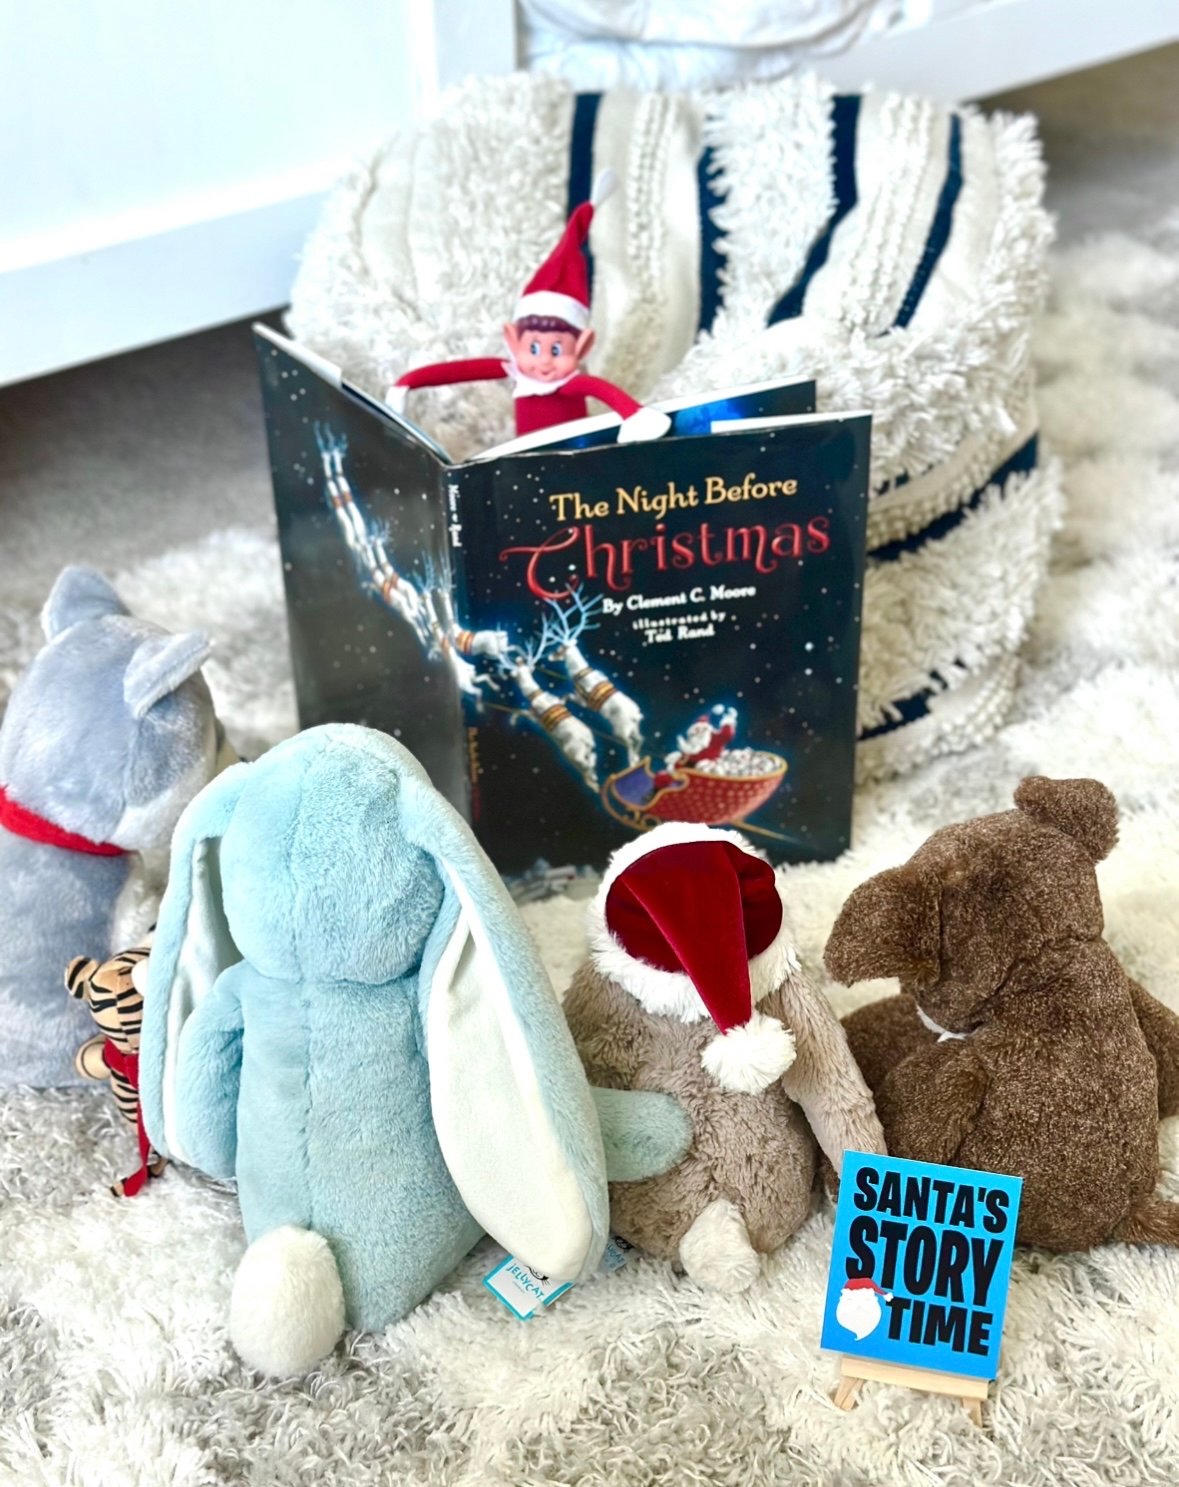
Supplies: Story time card, wooden easel, book, stuffed animals/Barbies/action figures/etc.
Instructions: Set your elf on a pillow or chair. Unfold a book and place them so it looks like they are reading. Place stuffed animals/toys in a semi-circle around the elf. Put the story time card on the wooden easel in front of this sweet scene!
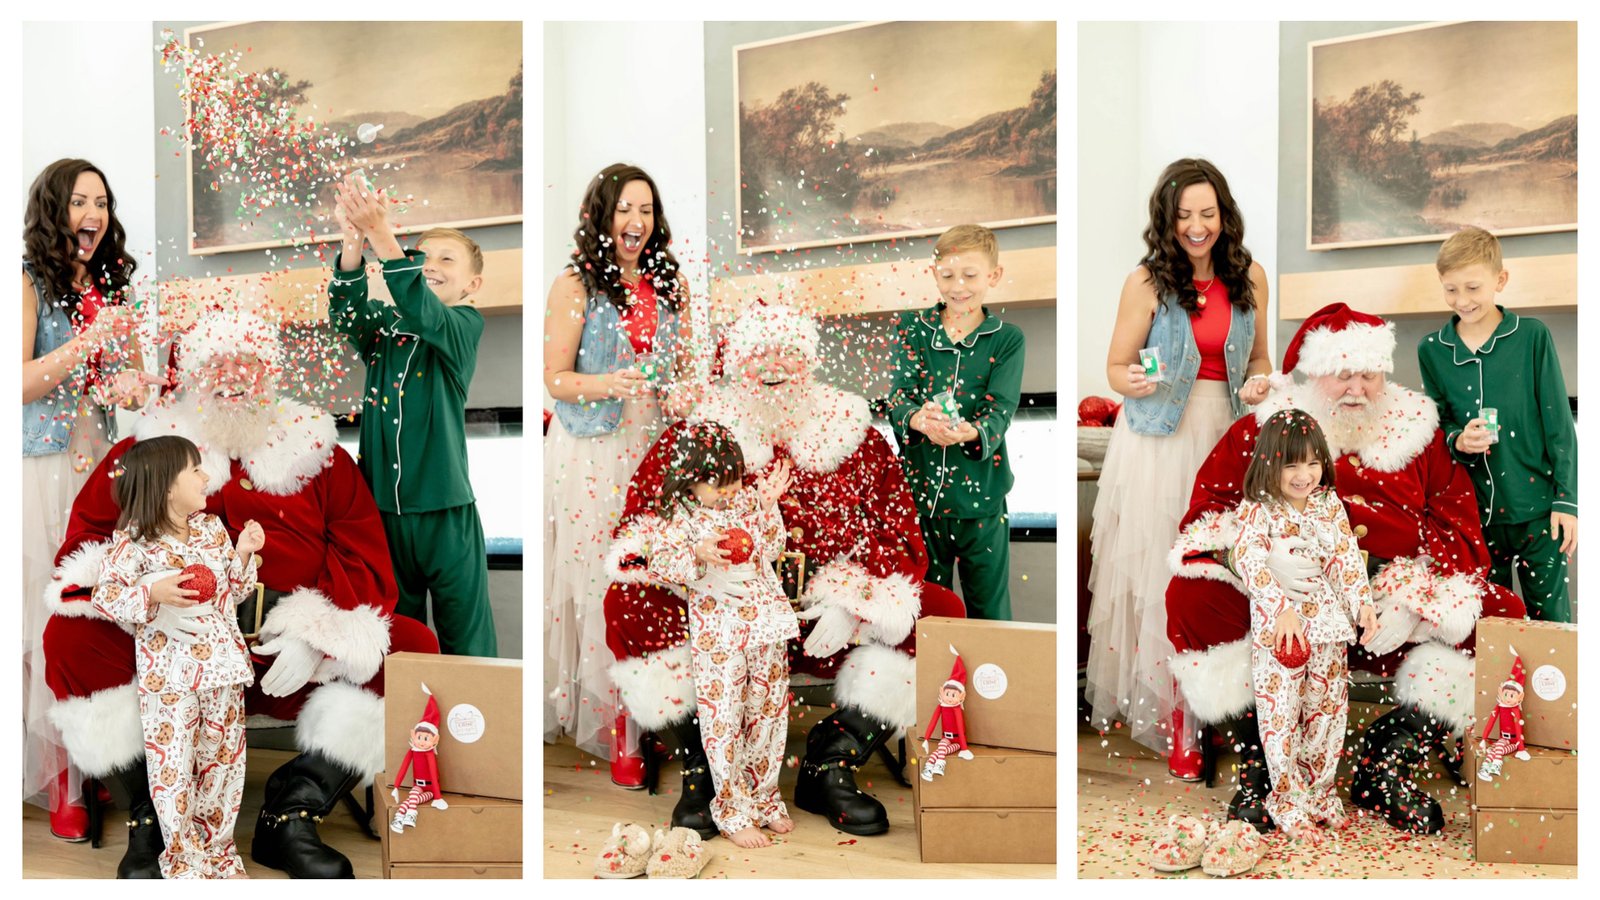
Day 24: Claus Confetti

Supplies: Claus confetti popper, Claus confetti card, wooden easel
Instructions: Set these our for your kids to find! On Christmas Eve, take the lid off, count down and push the stick up to let the confetti fly! I highly recommend doing these outside!
Day 25: Christmas is HERE!

Supplies: Christmas Day card
Instructions: Sign your elf’s name at the bottom as we say goodbye to another awesome year!
Another option is to lay your elf on the ground or a table. Sprinkle sugar around him. Lift him up to leave an outline. Place the card nearby. Use the shoes to make footprints and leave them at the end of the legs.

You can see a video of this HERE.
Optional Extra Day:

Supplies: Jesus card
While we absolutely respect everyone’s beliefs, for our family, there is no Christmas without JESUS! I like to set this card out with our confetti poppers on Christmas Eve with our Bible open to the story of Jesus’s birth! You could also place your elf in a nativity scene with this card!
Thank you, thank you for the opportunity to bring a little Christmas magic to your family this season! We absolutely LOVE doing this each year!