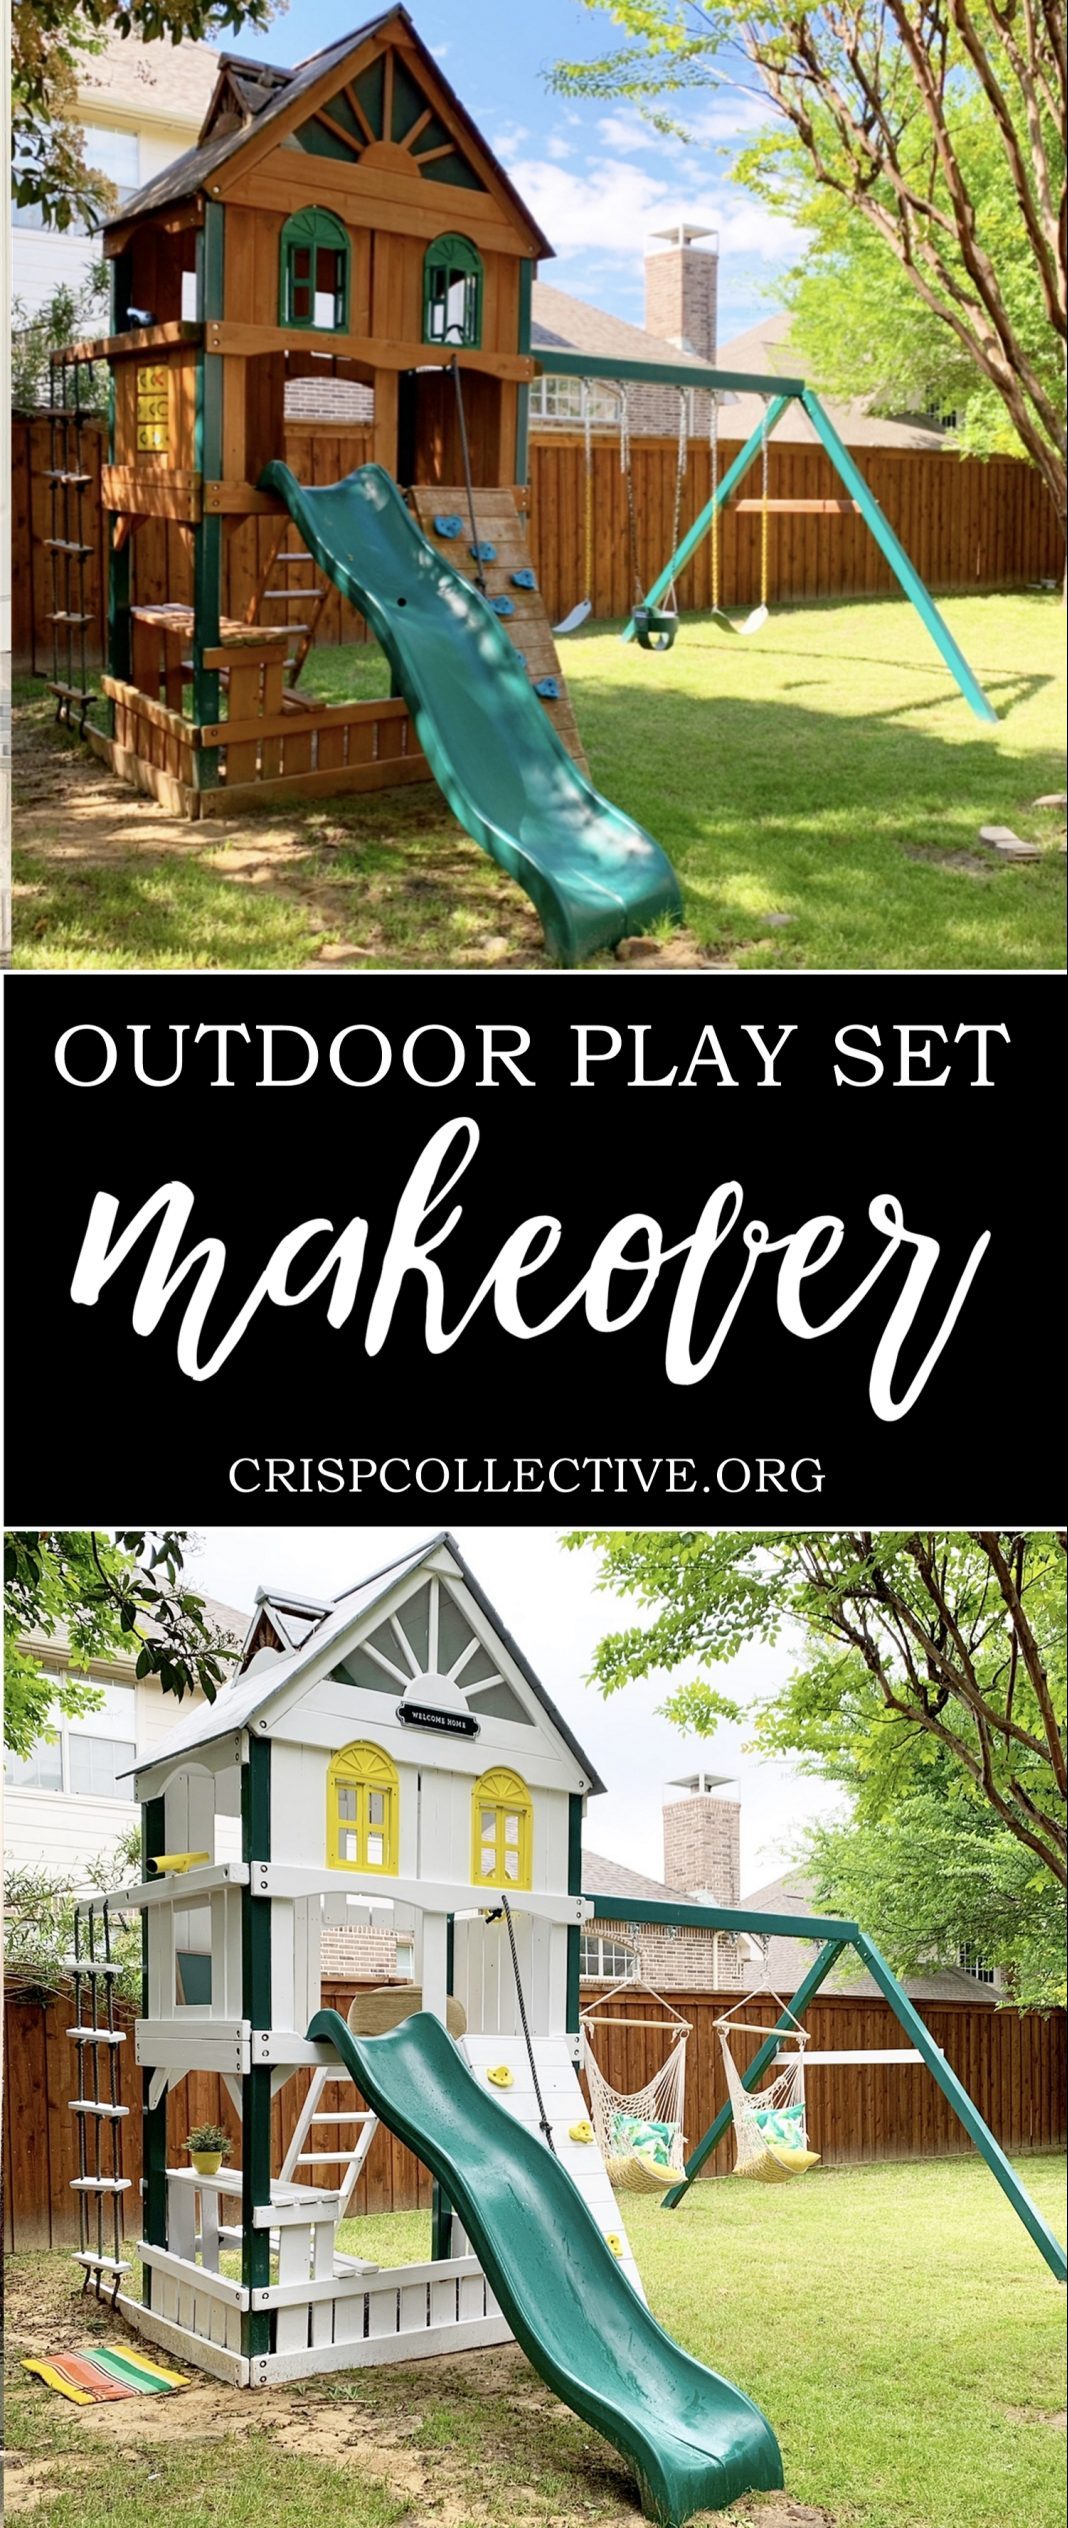
I am SO excited to share our outdoor play set makeover with you!! This was a labor of love for sure, but I am SO happy with how it turned out!
Our Playset
About five years ago we surprised Logan with an outdoor play set for Christmas! It was all put together in the backyard and to this day seeing his face fill with surprise and joy at seeing it for the first time is one of my favorite Christmas memories EVER!
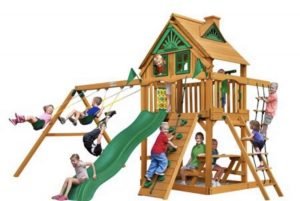
We have a gorilla play set, and it has held up really well! They do not make our exact configuration anymore, but you can find the most similar one here and another similar style without the swings here.
The Before
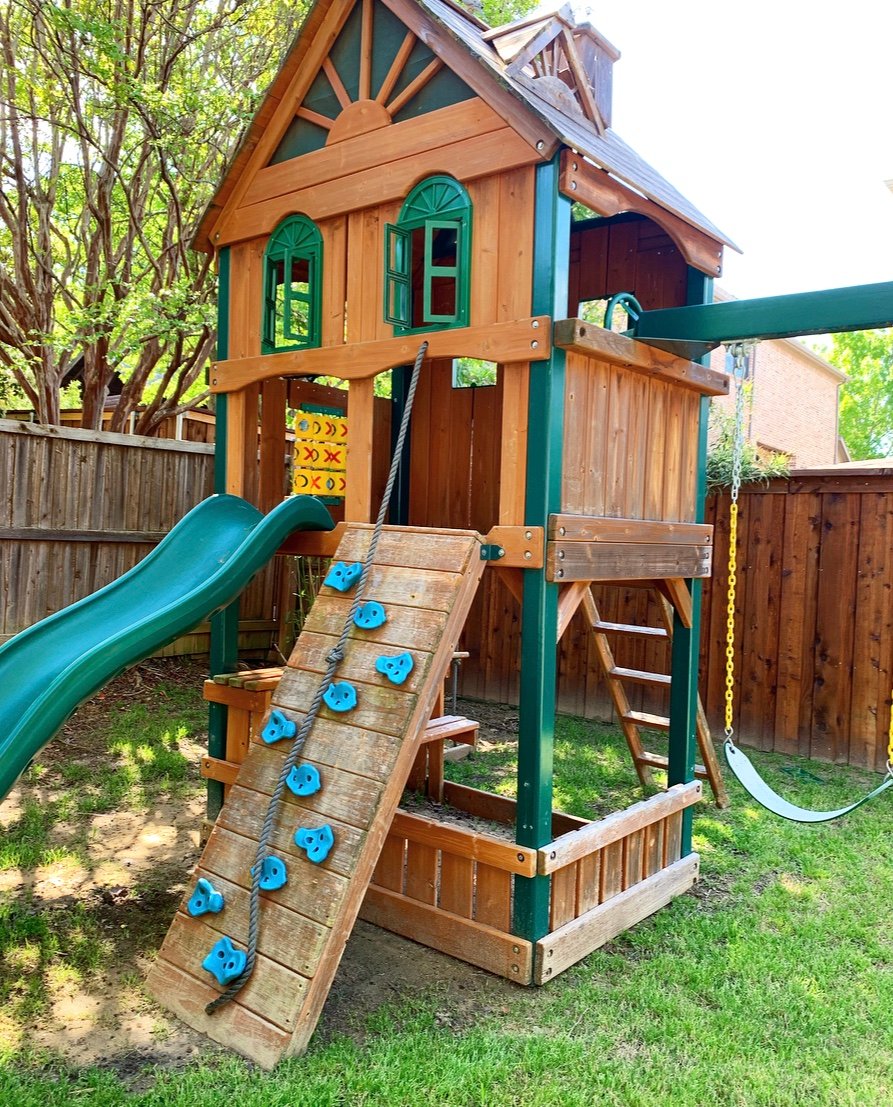
Over the course of five years our play set has been well loved and endured lots of weather!

It was in need of a little play set makeover and the shelter in place order seemed like a great opportunity to get this party started!
The Process
If you’re thinking about a play set makeover, I hope these tips will be helpful! It is time consuming, but I think the results are well worth it!
The first thing you will need to do is wash your play set well to get all the dirt and grime off. If your set is new, this will not take long, but for us, it was a process.
I power washed our set two times, using a pressure washer, letting it completely dry in between, and making sure to get into all the nooks and crannies. As I shared some of the process on Instagram, many of you asked about sanding. I did not sand our play set at all and had no issues! You can find an affordable pressure washer HERE.
I grabbed this paint at Home Depot in ultra pure white for all the wood and slate gray for the contrasting roof. Find this porch and patio paint HERE.
I used a combination of these rollers, this brush and this brush to paint all the wood.

I removed all the plastic parts from the set and bought this spray paint. Find it HERE.
Painting took 2 full coats and a little bit of extra touch up. We were not in a huge time crunch, so I painted over 4 days, but I think you could definitely knock this out in a weekend if you timed the dry time right. It ended up taking 2 1/2 gallons of the white paint total and about 1/2 a gallon of the gray.
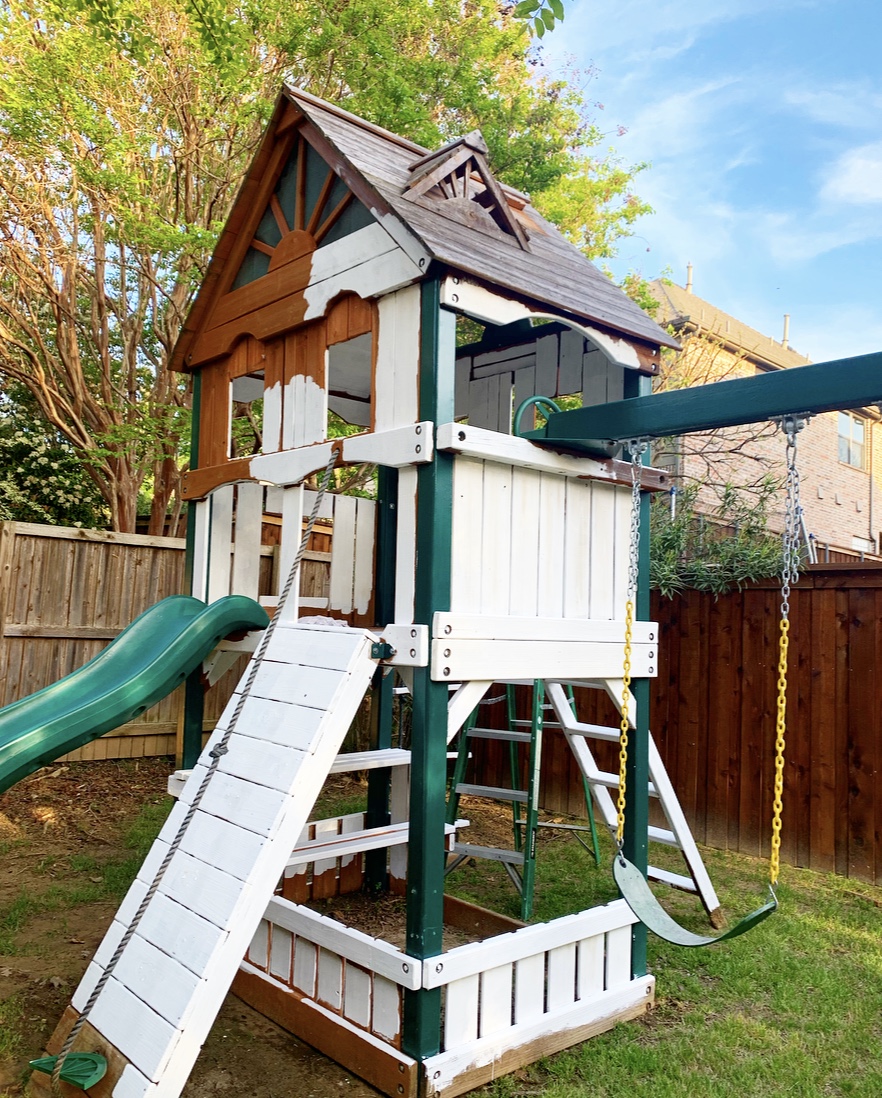
The entire painting process took about 12 hours total. There are lots of little nooks and crannies! I did this all by hand, but if you have a sprayer, it would probably cut this time in half!
A Few Painting Reminders:
Every time I take on a major painting project, I am reminded:
I ALWAYS think I am screwing it up on the first coat. I step back and think I am ruining it….every.single.time. Have patience! The second (and sometimes third) coats are the miracle workers, and at the end of the day, it’s just paint! It can almost always be fixed!
However long I think it is going to take initially, I should double it! Painting just takes time to do it right! Carve out enough time and be realistic so you are not frustrated!

I am a messy painter! I am working on it, but I have also accepted this fact. I buy gloves and wear clothes that I fully expect to get ruined. I also plan some time to fix my messes, like scraping the little bits of paint I accidentally got on the metal with this tool, cleaner and a rag.
The AFTER
Are you ready?!? A few play set makeover before and afters!
Before:
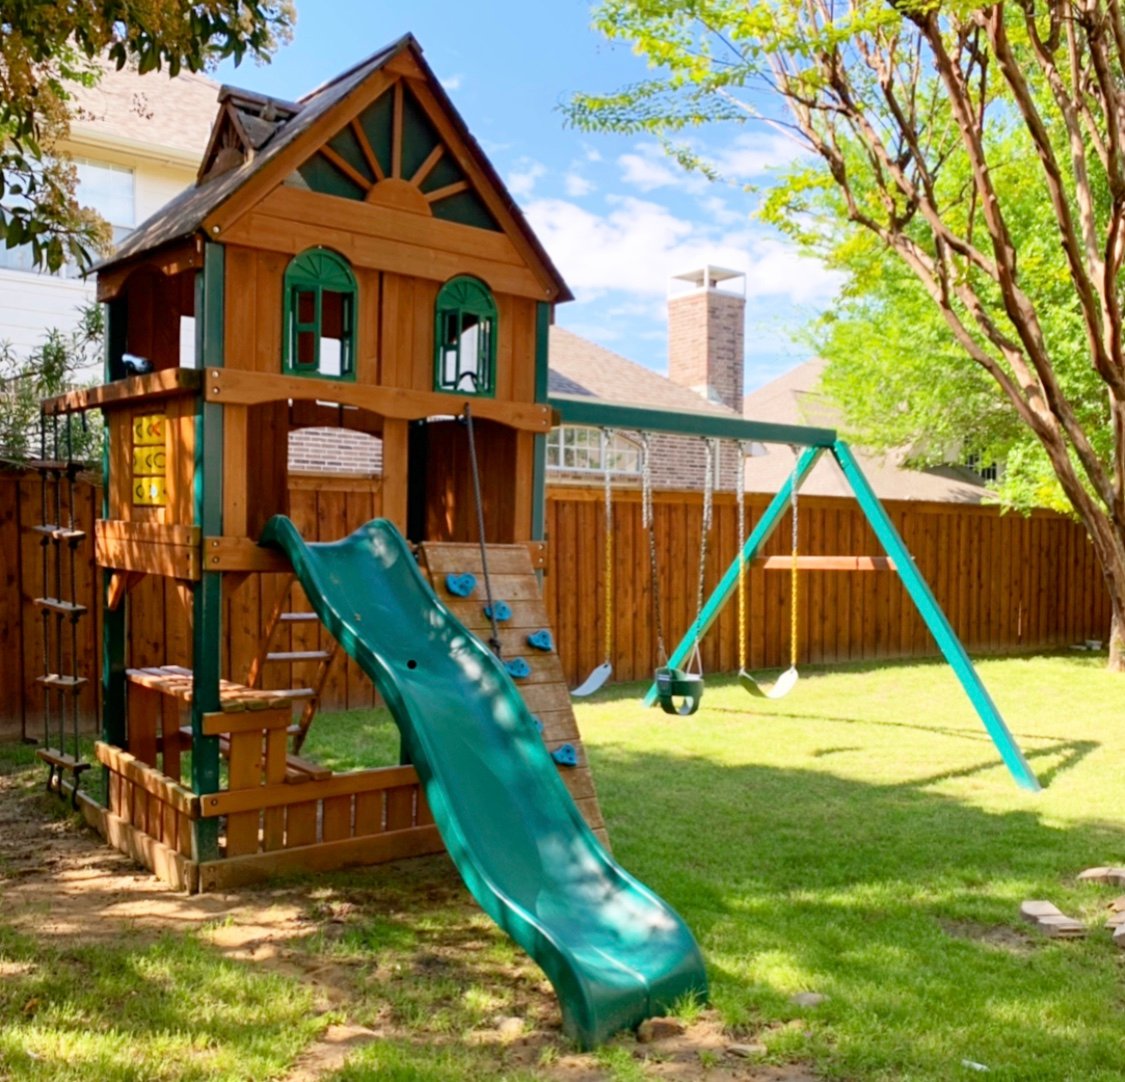 After:

We also took off our old swings and replaced them with these hammock swings!
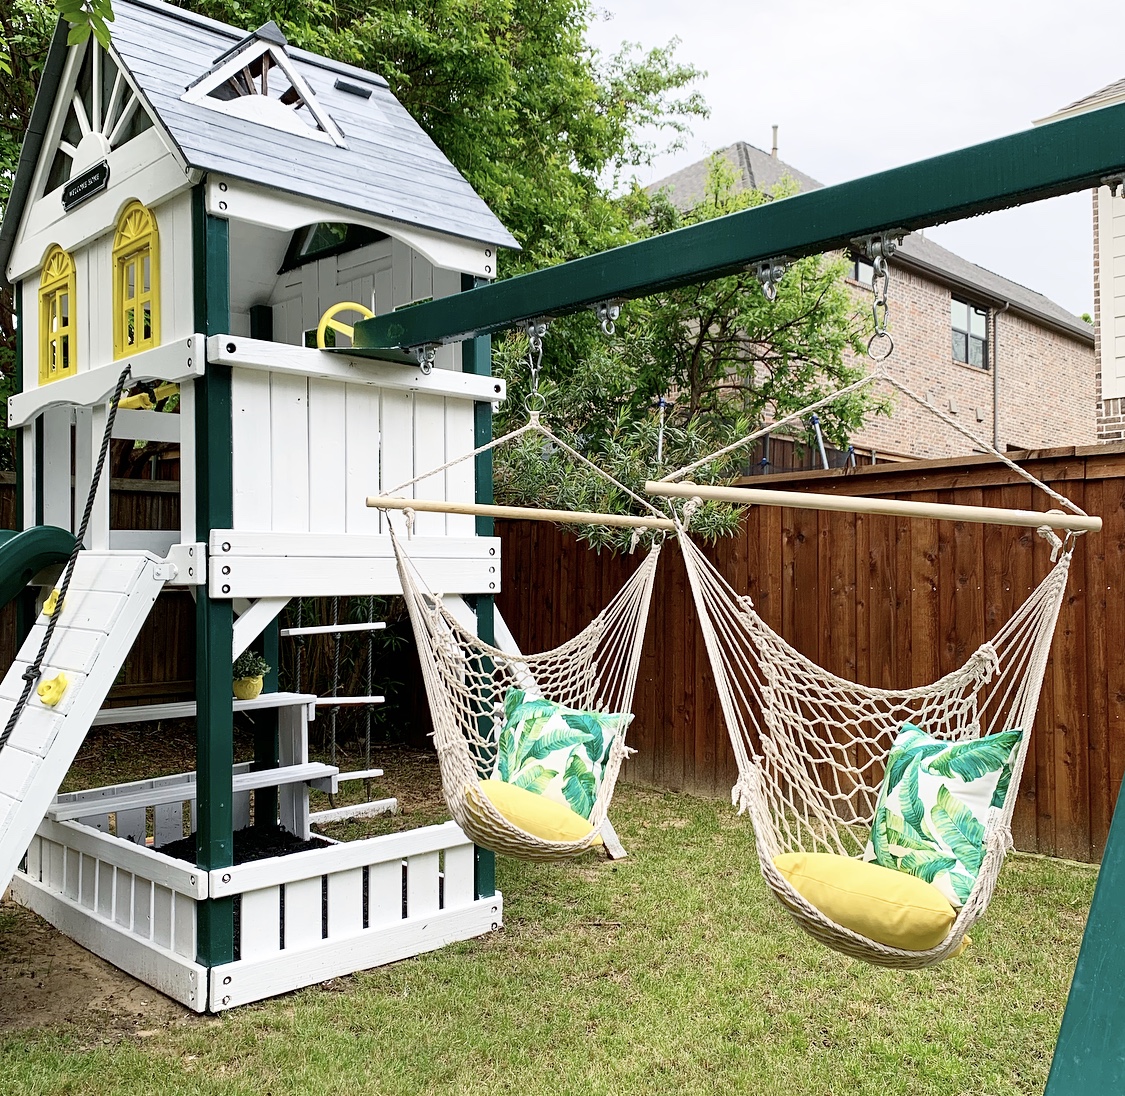
They are so fun and can hold up to 200 lbs. You can find them for under $30 HERE.
Before:
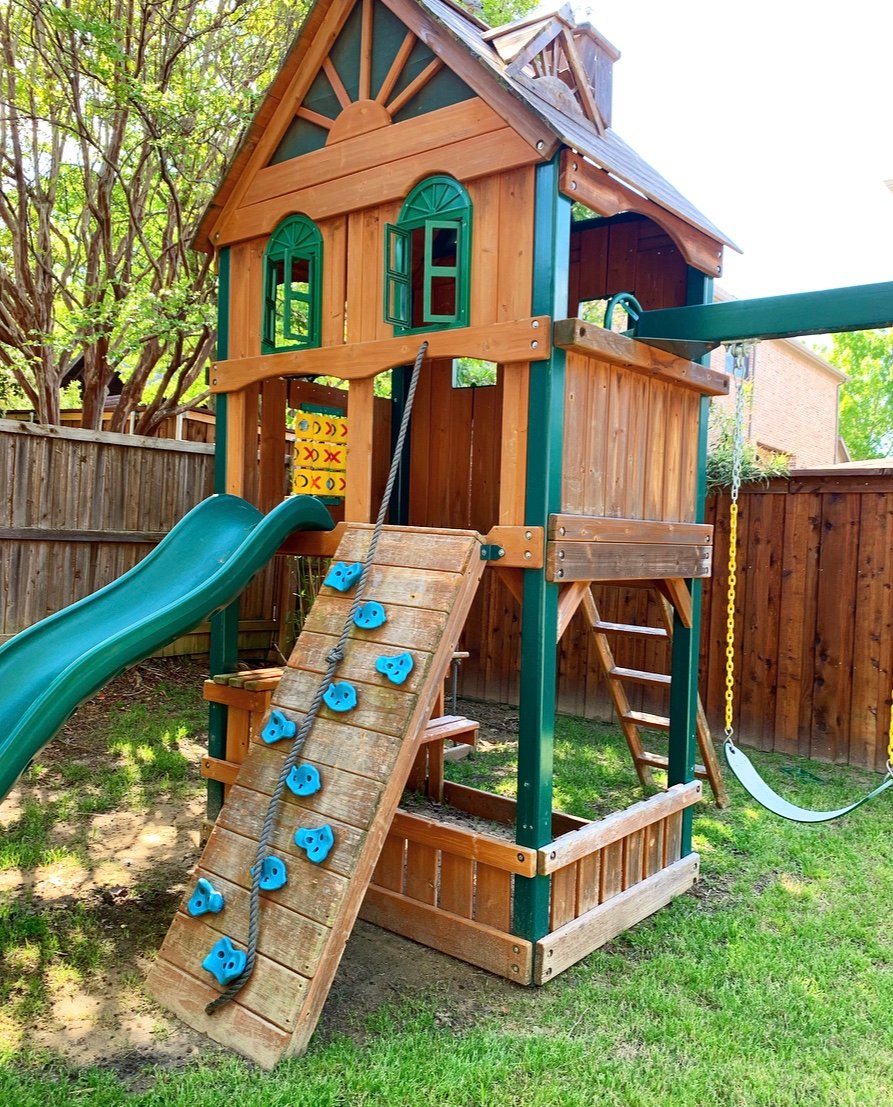
After:

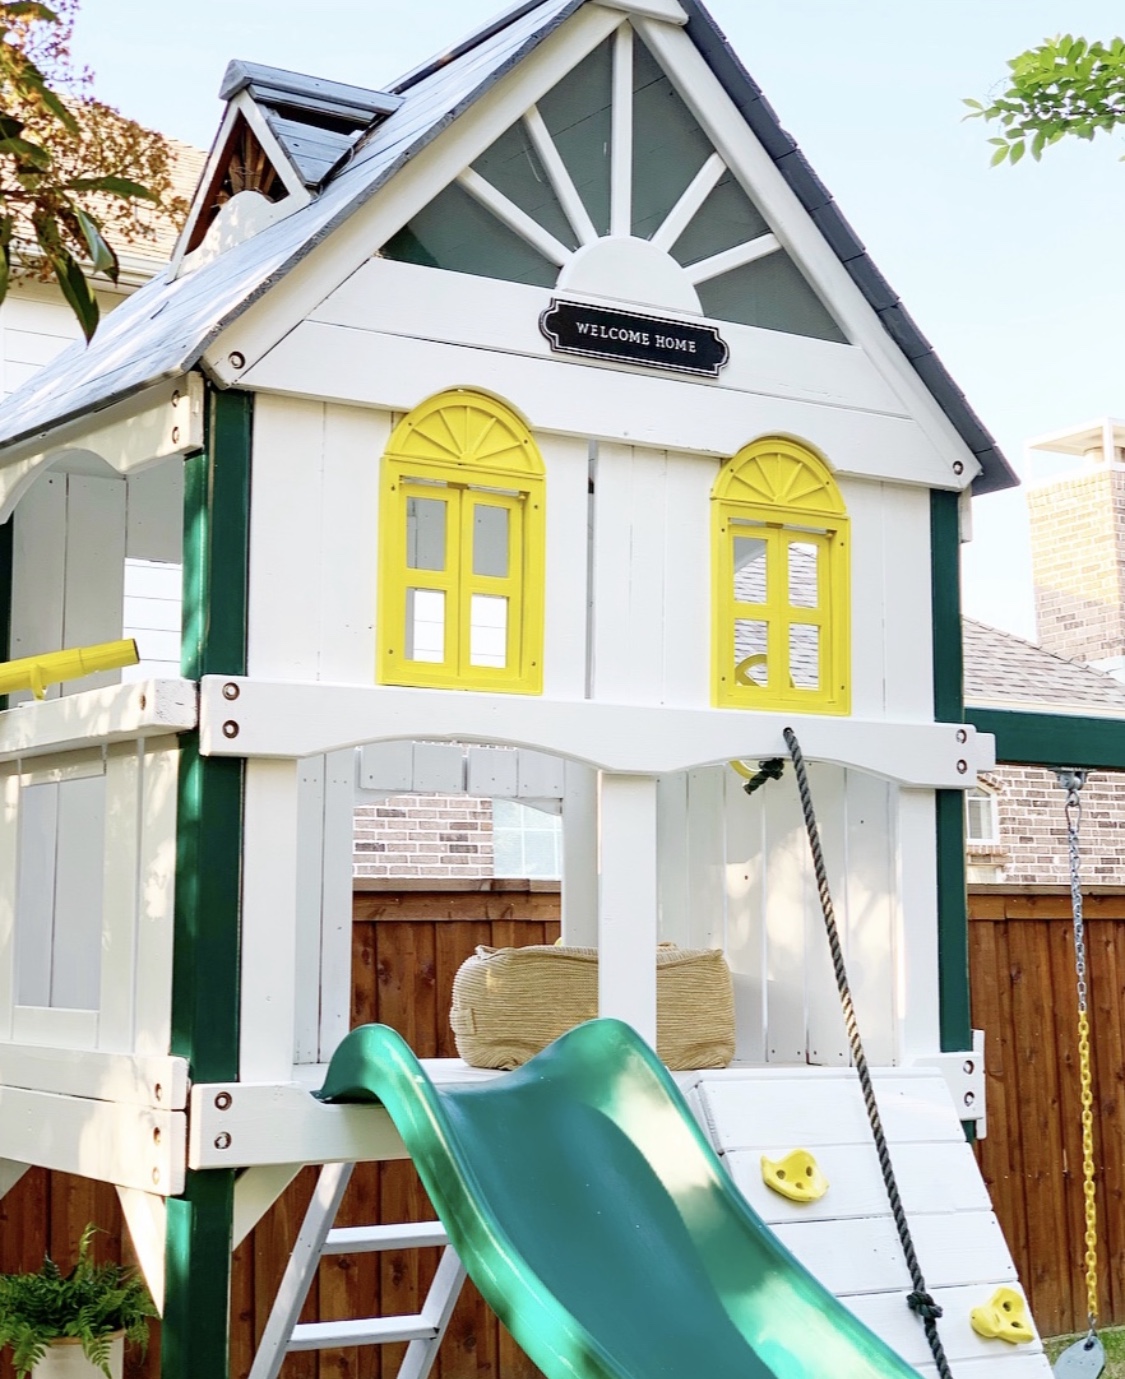
I grabbed this cute Welcome Home sign HERE.
Before:
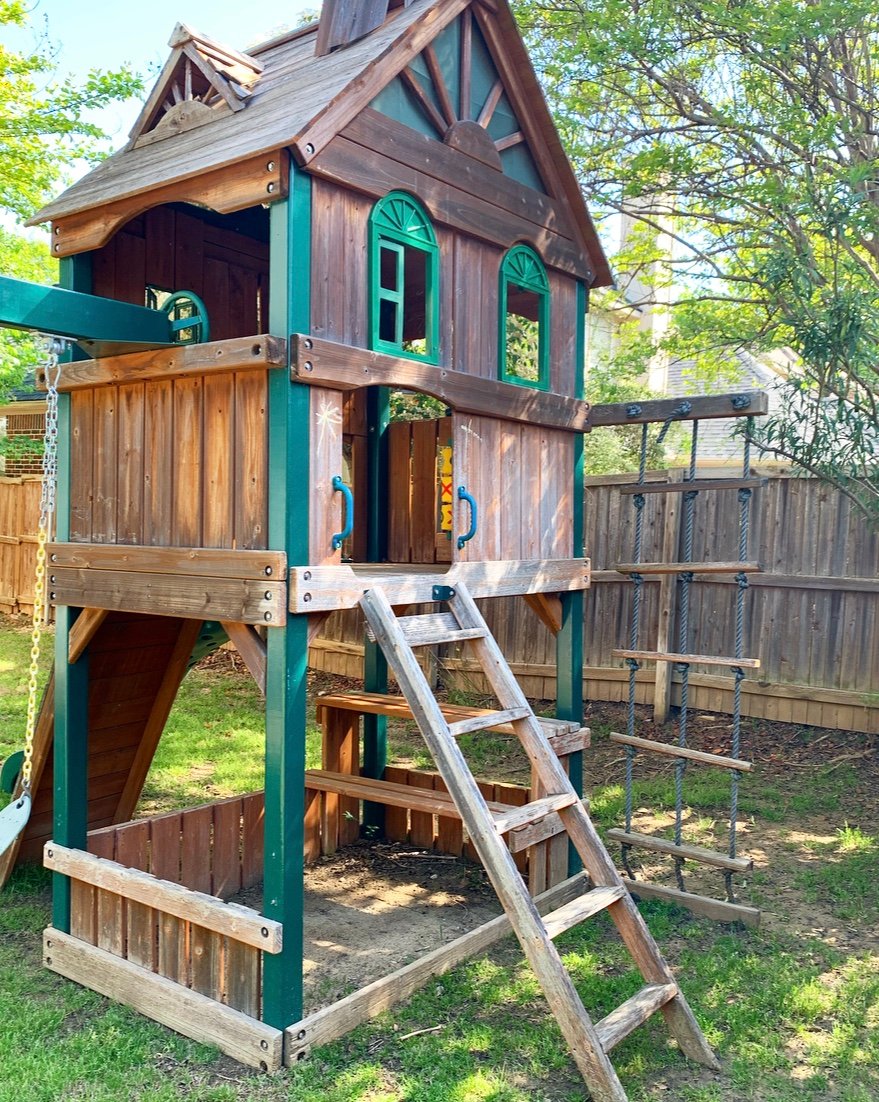
After:
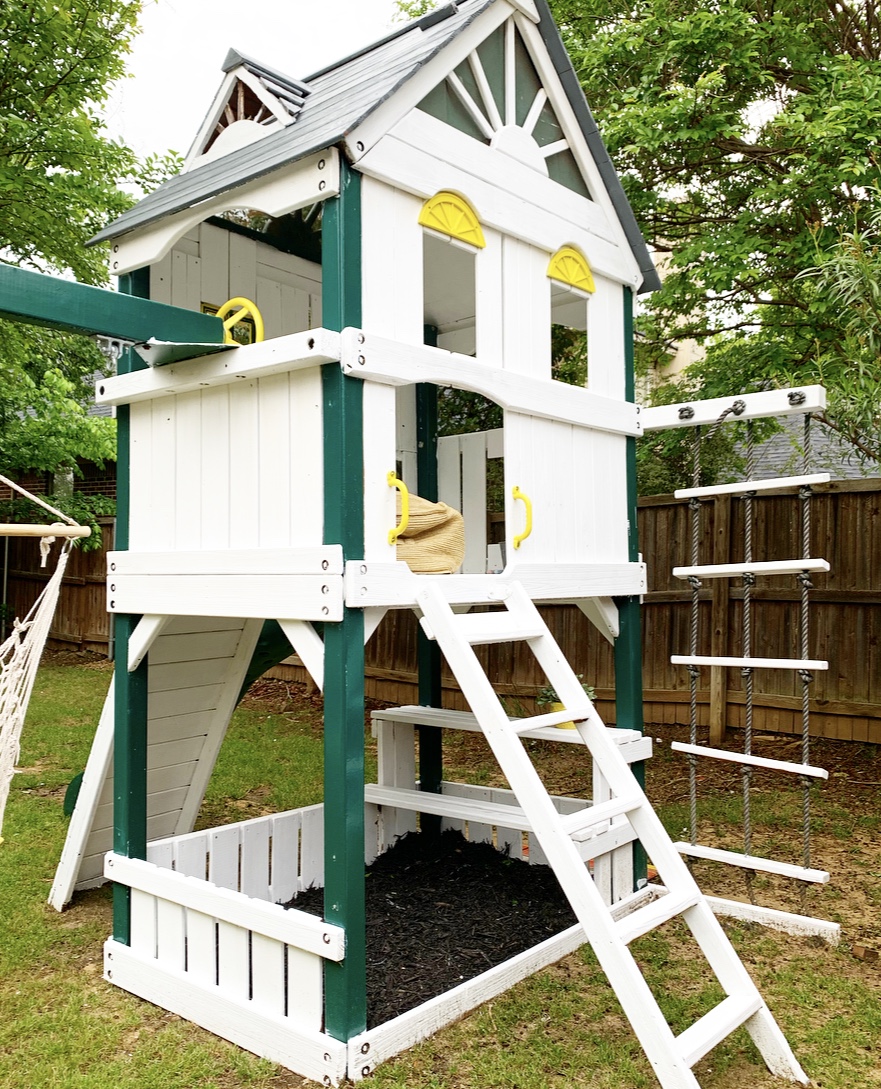
Black mulch helped this little seating area!
Before:
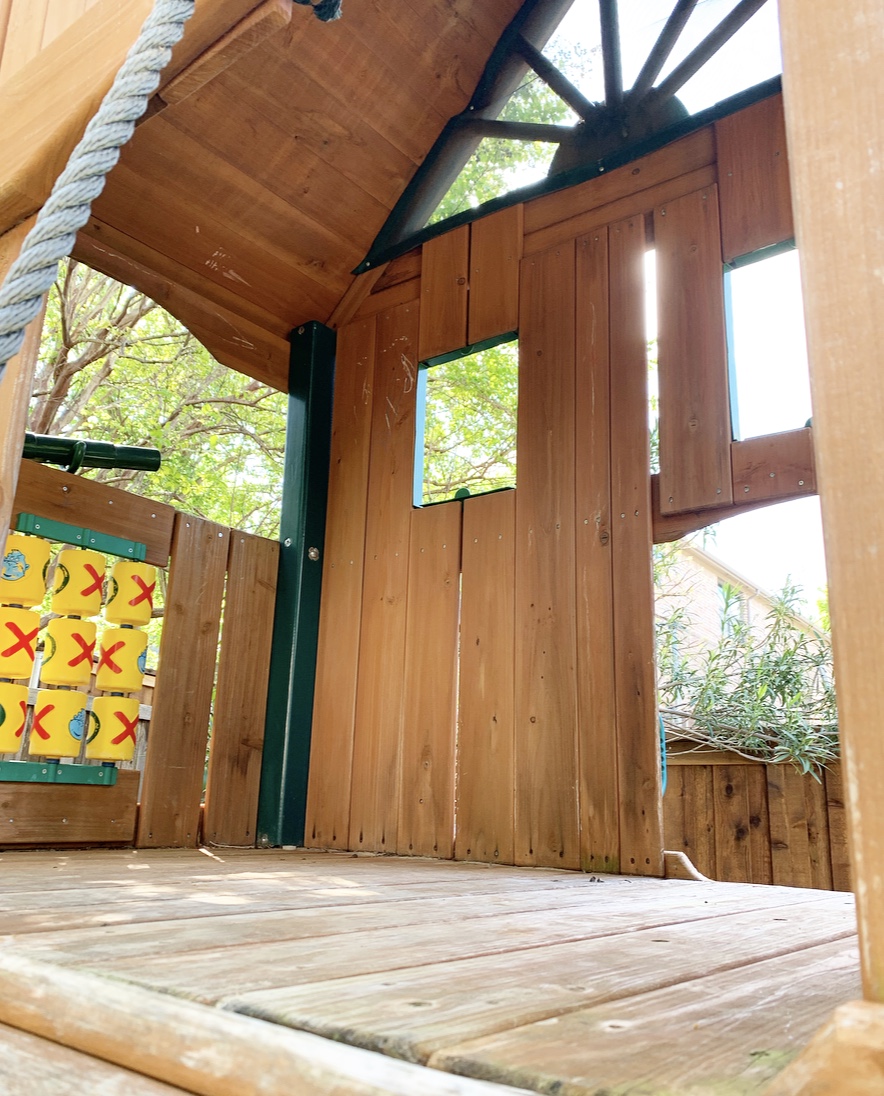 After:
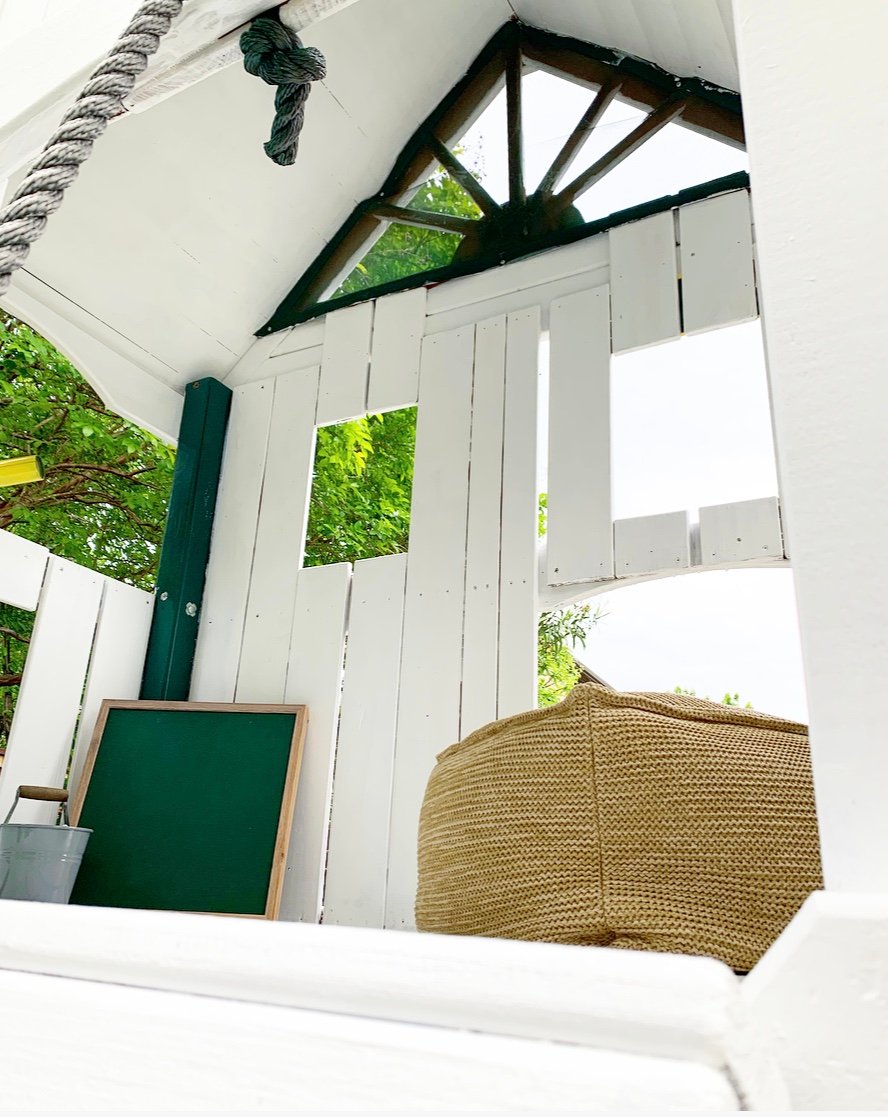
This outdoor pouf (HERE) in this clubhouse is so cute, and we added a little chalkboard and chalk.
This was such a fun project and definitely a labor of love!
For more home makeovers, be sure to check out these posts:
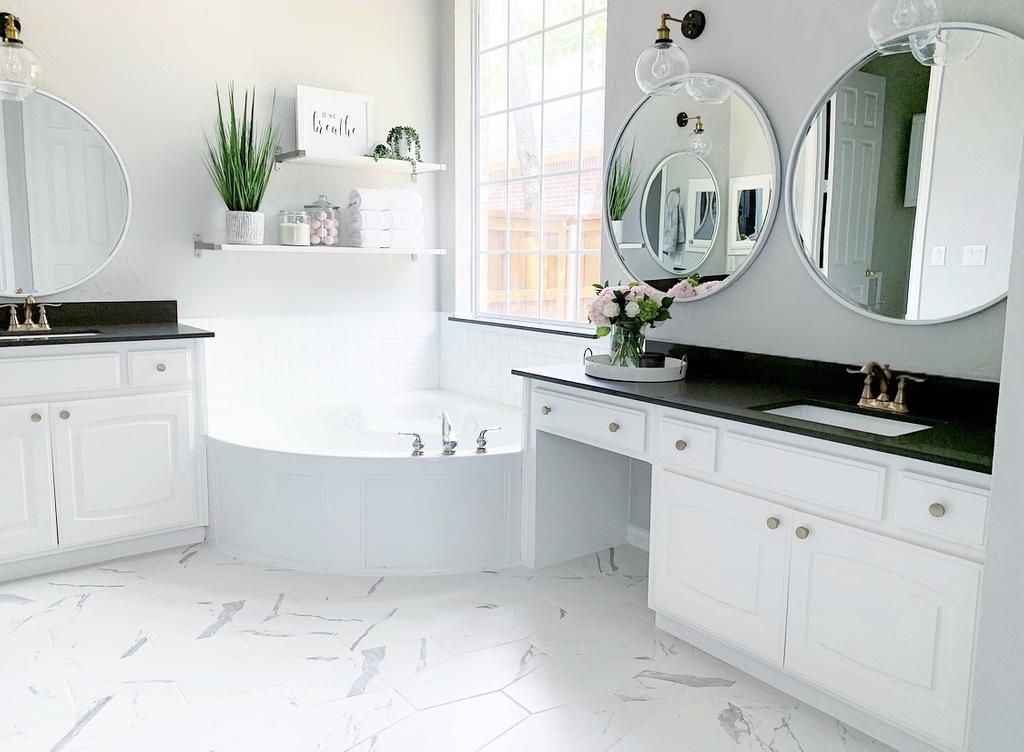
Our Master Bathroom Renovation
Find the post HERE.
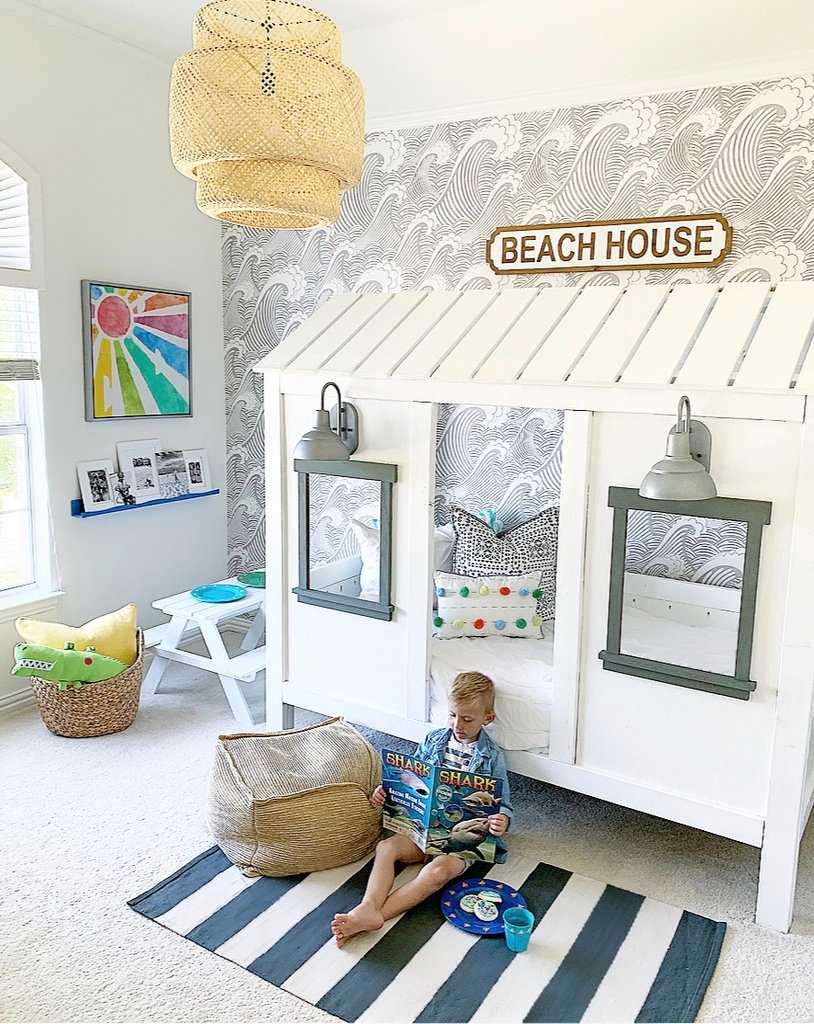
Will’s Bedroom Renovation
Find the post HERE.


 Marci says
April 26, 2020 at 10:37 pmOmg it looks so good!!! Now I want to paint our swing set!!
 Bethany Crisp says
April 28, 2020 at 10:38 pmThanks sweet friend! It takes a little time, but toooootally worth it!!