I’m excited to share how to paint concrete using paint and tape!
The Patio Plan:
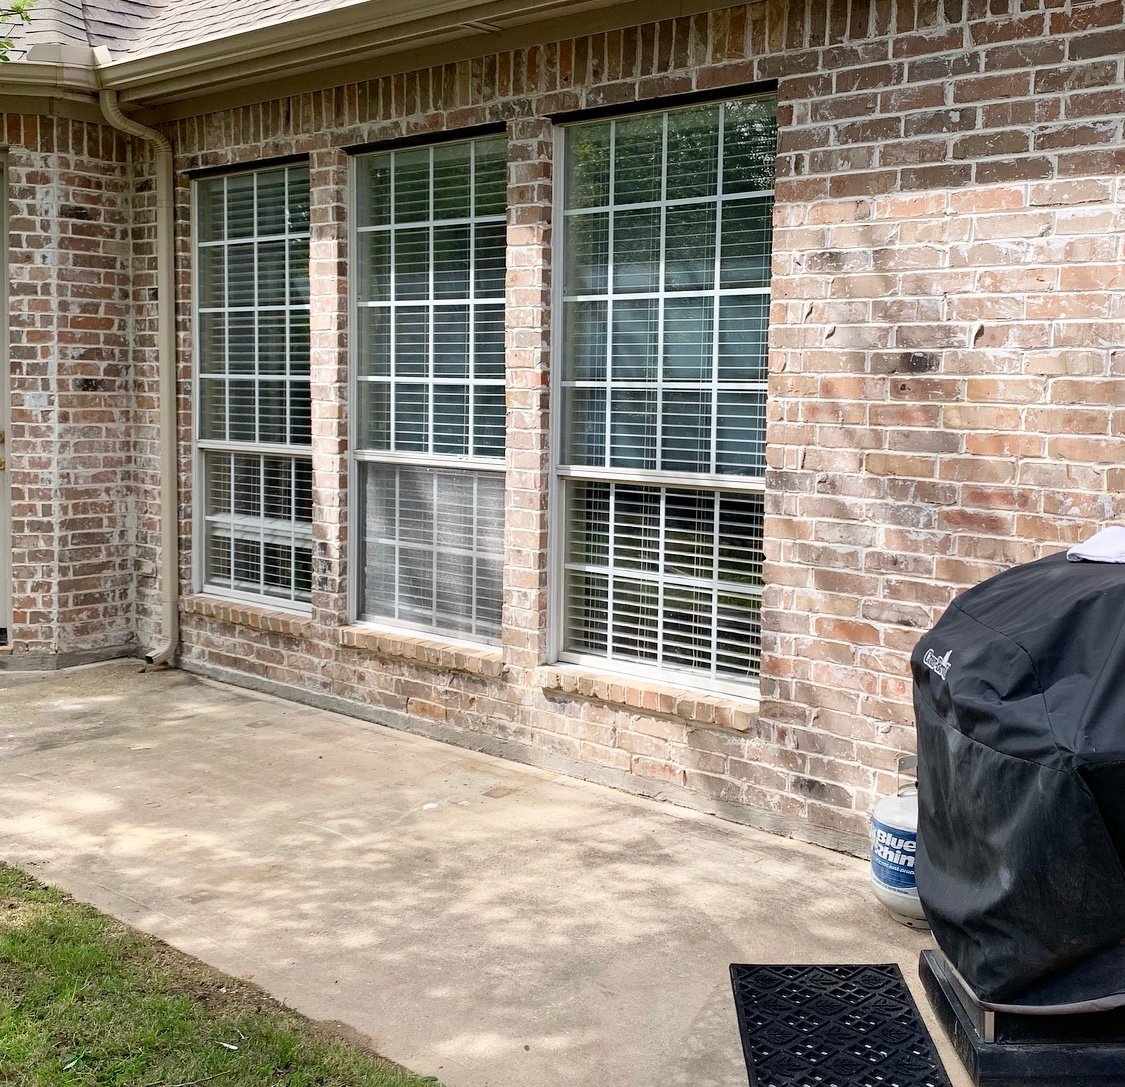
Here was our patio when this project started! It’s a small space that had been home to a rotting table that we kicked to the curb! There is something awesome about a blank slate! My original plan was to paint the concrete using a stencil. I ordered a really fun stencil from this shop on Etsy and waited. The shop owner shipped my stencils right away, but due to Covid-19, they got stuck in Chicago over a month ago, and as far as I know, they are still chillin’ in the Windy City!
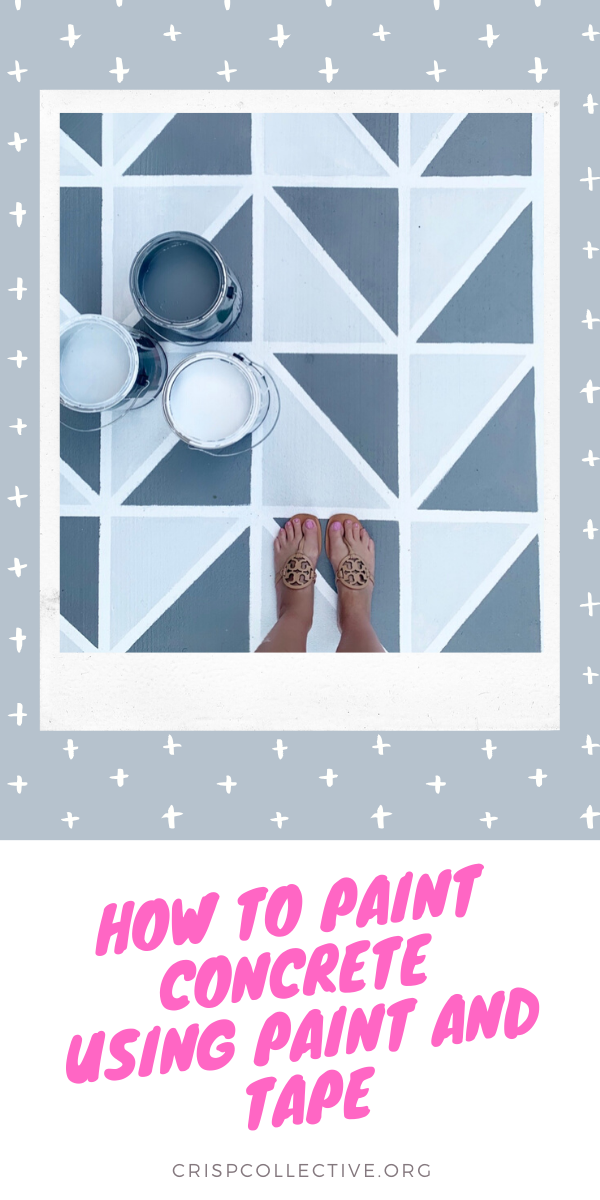
So on to plan B…..painter’s tape, paint and patience….here is the patio after:

This project is not difficult and does not require a lot of skill, but it does take some patience! I am going to take you through the process I used for this design, but you can definitely use these tips to create any tape design you can dream up or that works best for your space!
Supplies:
A pressure washer or cleaner for concrete
Measuring tape and straight edge
Paint rollers and tray- I bought a few of this set HERE
2 inch angled brush- I like THIS ONE
Small brush for touch ups
Painter’s Tape-I have a small space and used 3 rolls. Find some HERE.
Porch and Patio Floor paint-low lustre
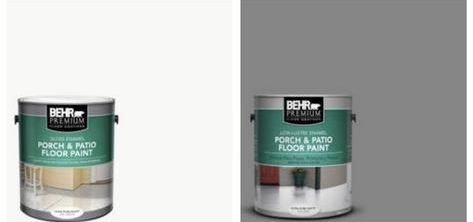
I used this Behr Ultra White HERE and Slate gray HERE.
I got the low lustre finish!
Sealer- DO NOT skip this step. I used this sealer HERE
Prep Work:
First you need to make sure your concrete is clean. I took the power washer to ours, which is always so weirdly satisfying! It washed away all the dirt and grime. If you do not have a power washer, several tutorials I read recommended a concrete cleaner. There are many options at stores like Lowe’s or Home Depot. However, I felt like just power washing was sufficient for us! Then I primed all the concrete using this paint in Ultra White, 2 coats.
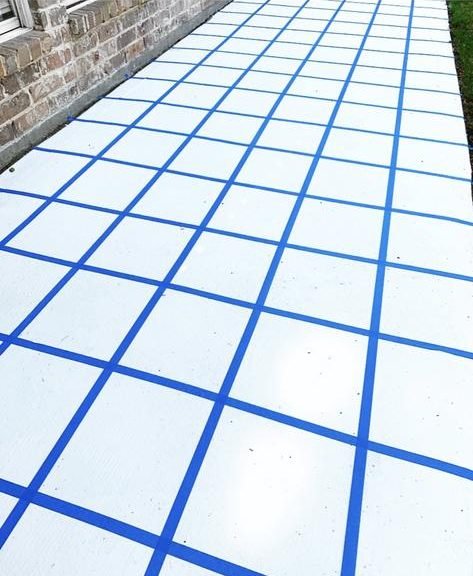
I then measured the entire patio and created a grid using a measuring tape and blue painter’s tape. My squares are roughly 12×12 within the tape. However, they are not completely perfect because I did not want any partial squares at the edges….so don’t go checking my measurements! haha! Visually I felt like this looked better, even if they are not perfect squares.
Making the Design:
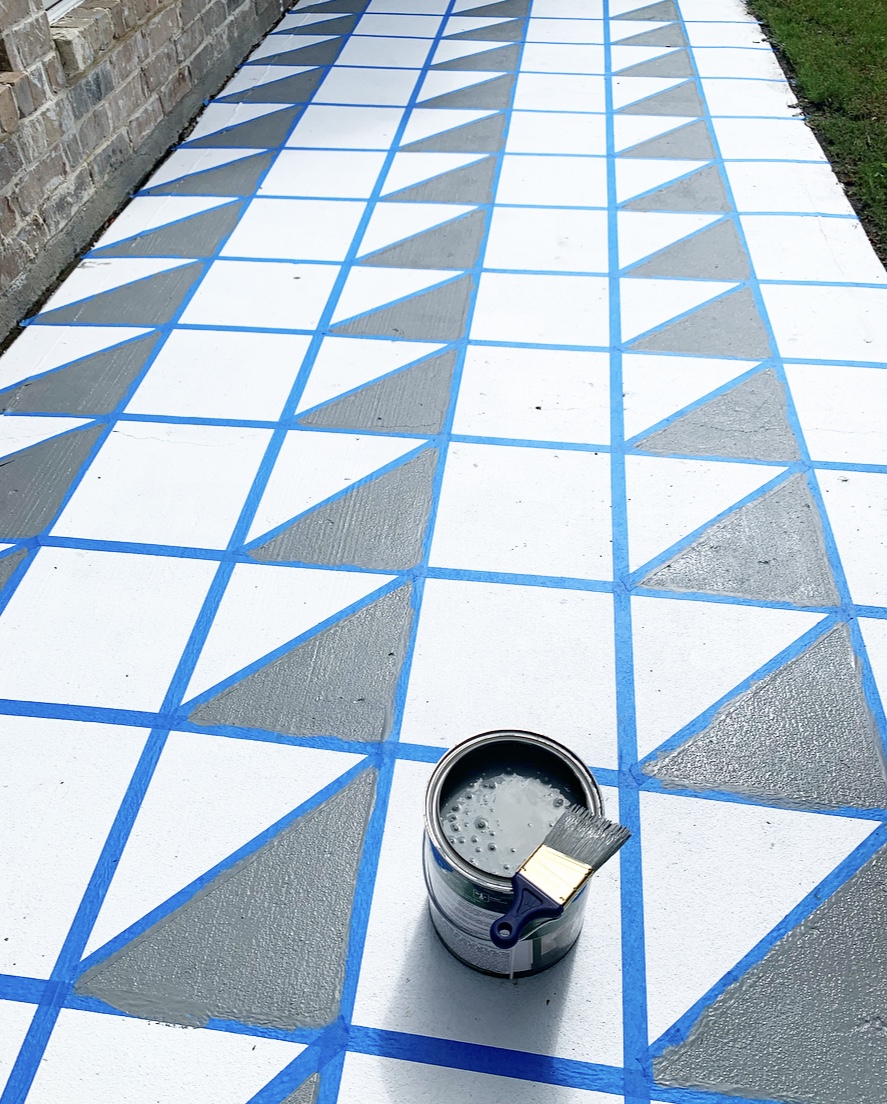
I started by making a diagonal with the tape on each square in every other row, as pictured above. I painted the bottom triangle of each of these squares with slate gray porch paint, two coat each.
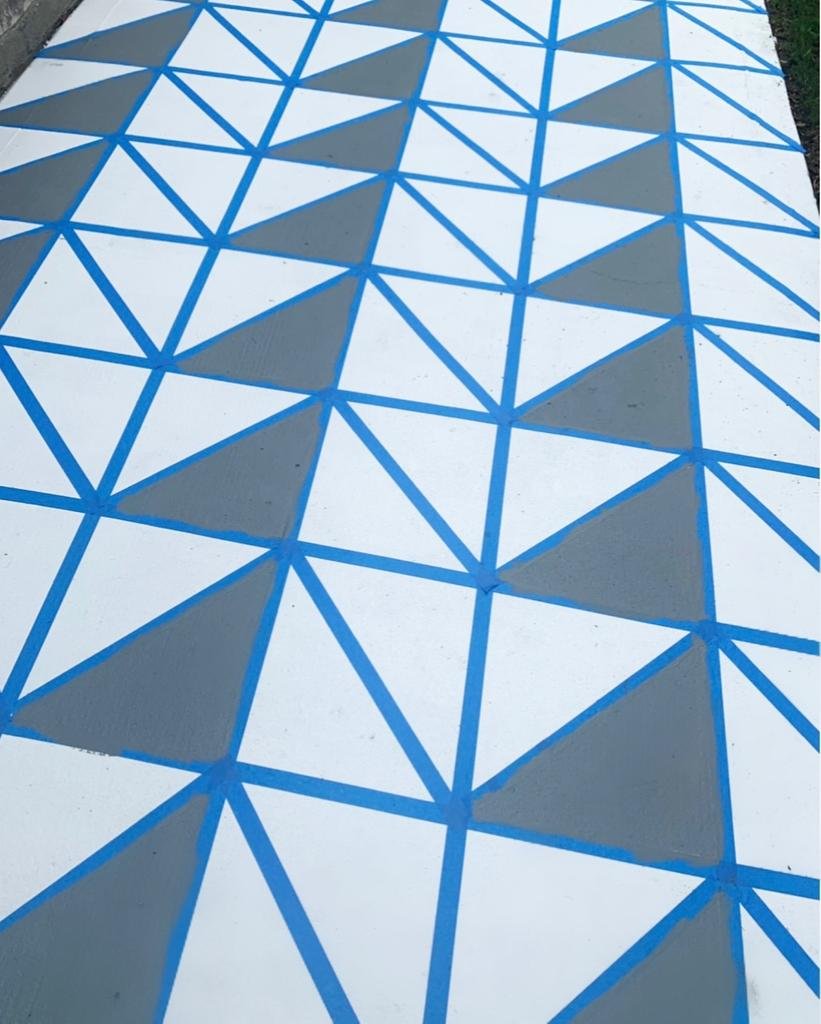
Then I made diagonals going the opposite direction on the remaining squares.

I painted the top triangles on those squares, two coats.

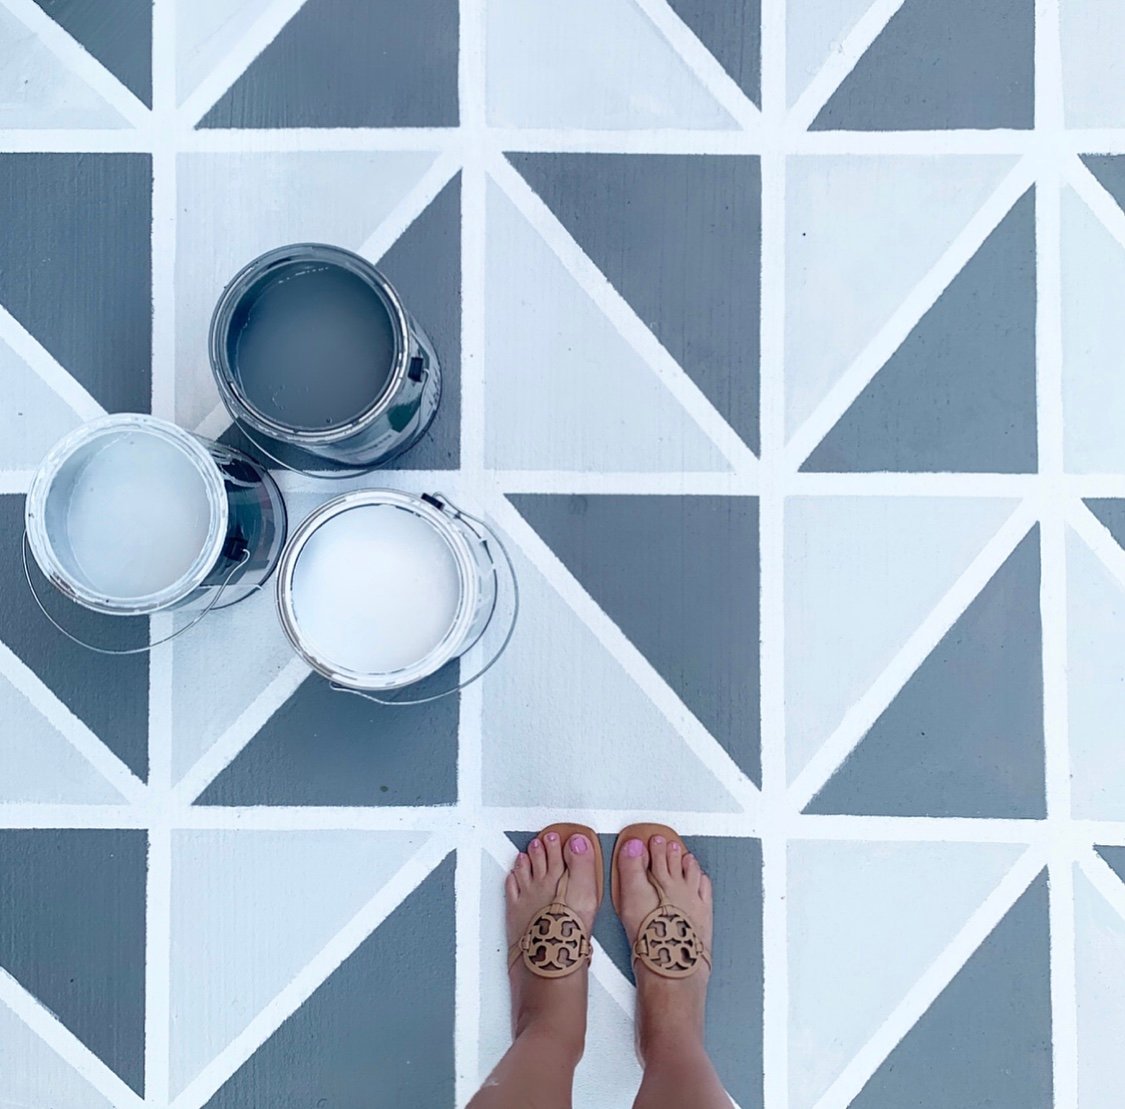
Then I mixed my two paint colors and made a third color, a very light gray. I took the Ultra white and added little bits of the slate color at a time until I got the color I wanted.
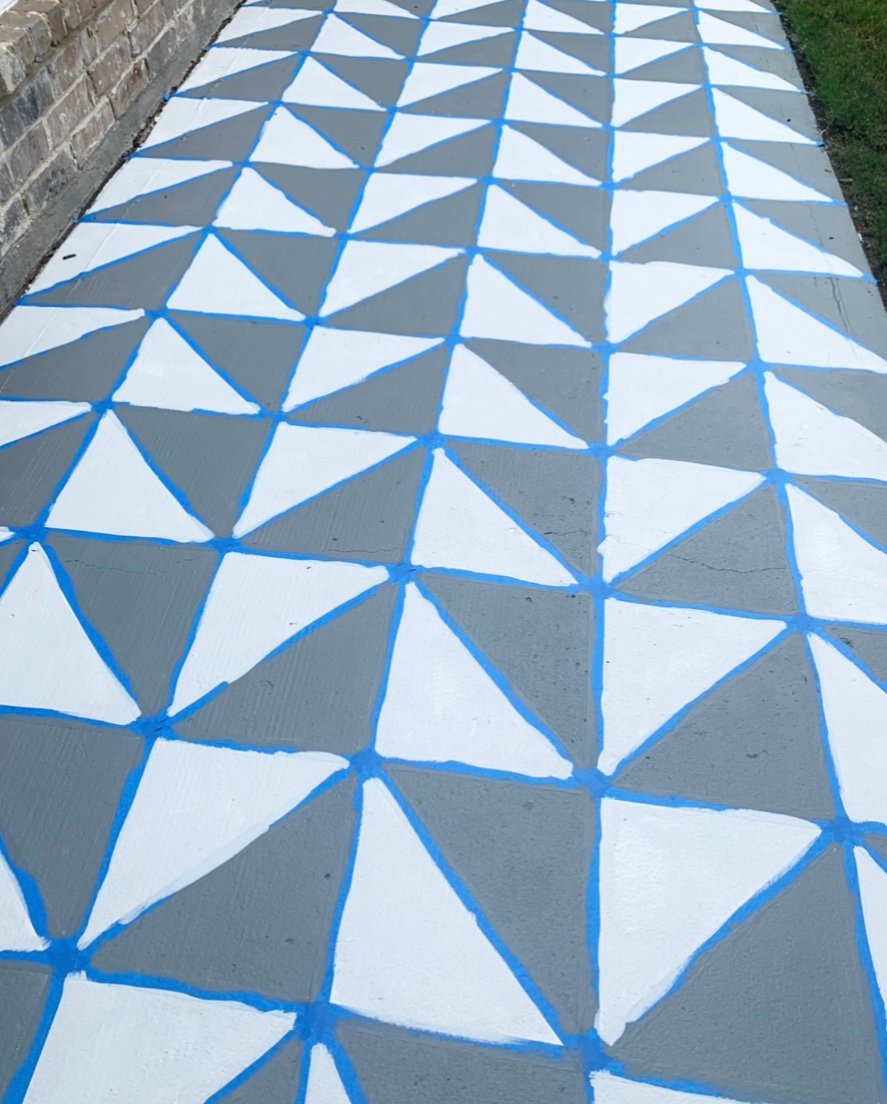
Then I painted all the white triangles with the light gray. It may not look that different, but when I peel the tape off, you will see three distinct colors!
Peeling the Tape and Touching Up
This is THE most satisfying part of the ENTIRE project….

peeling the tape!!
Do not stress, you will probably have LOTS of little bleeds, it is inevitable. I just took a small brush and went over them as carefully as I could. It made a huge difference! Ours is not smooth concrete, so the lines are not going to be flawlessly straight, but the touchup makes them as close as possible!
Sealing Your Work
DO NOT skip this step! Our patio is not covered, so it will get exposed to the elements and will have patio chairs scraping against it as people sit down and get up from the table….you don’t want to see all your hard work get ruined!
I used THIS SEALER and just rolled it on with a paint roller. It looks milky when you pour it out of the bottle, but it dries clear and matte.
Find the sealer HERE.
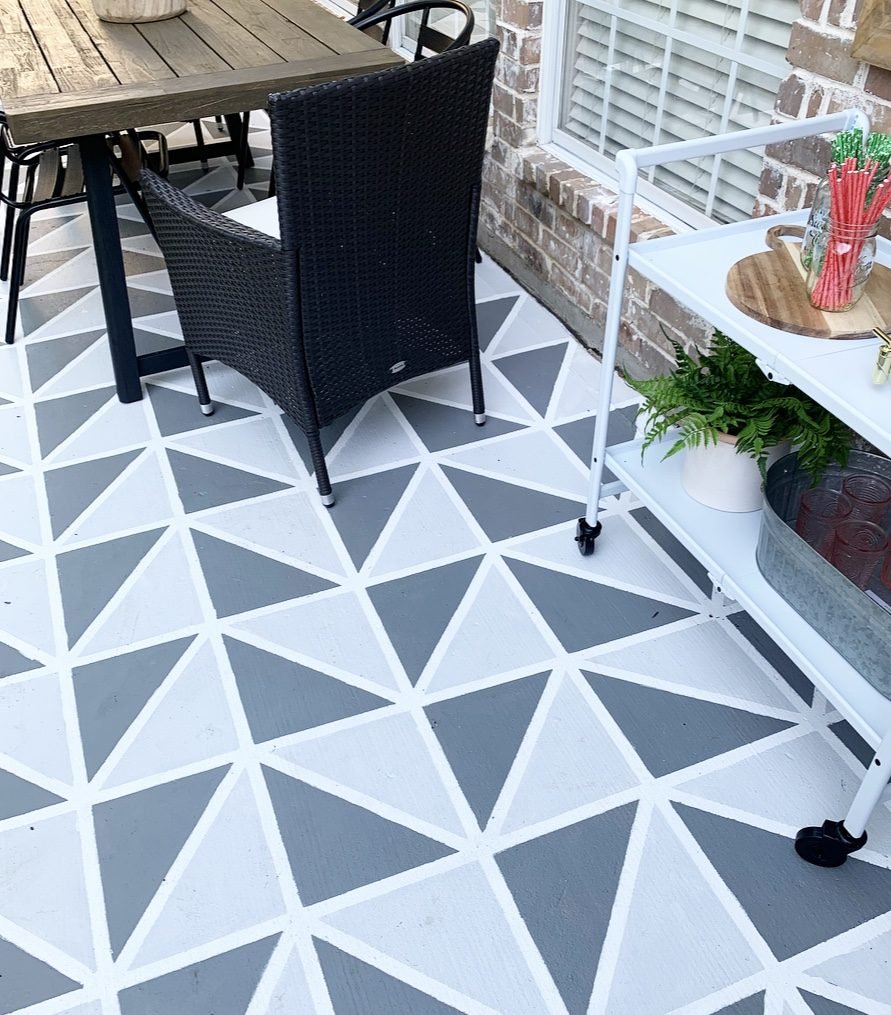
It’s crazy the transformation just a little paint and tape can make to concrete! I think this spot looks brighter and a lot more fun! I hope we can enjoy a few meals out here before the Texas summer heat sets in!

Find the products used by clicking any of the pics below:
Find our outdoor furniture by clicking the links below:
DIY Planter tutorial coming soon!
Find outdoor accessories by clicking any of the links below:

Leave a Reply